


Calling all Harry Potter fans! This Harry Potter Cake is a vegan recreation of this iconic birthday cake Hagrid gives Harry in The Philosopher’s Stone. Watch the video clip below to relive the magical scene that inspired this recipe.
Jump to Recipe
Jump to:
I’m a huge Harry Potter fan - it’s my favorite book and movie series of all time! So much so that I've read every book in 3 different languages. Naturally, I couldn’t resist creating a vegan version of the Harry Potter Cake.
Though the recipe might look intimidating with its long ingredient list, this Harry Potter Birthday Cake is actually simple when broken down into three steps: whisking the wet ingredients, combining the dry ingredients, and whipping up the buttercream.
The magic starts with a vegan buttermilk made from dairy-free milk and apple cider vinegar. When mixed with yogurt, oil, cocoa and espresso powder, flour, sugar, and other leavening ingredients, it creates a silky, chocolate batter ready to be baked. While it’s in the oven, there is plenty of time to prepare the pink and green frosting that’s iconic to this recipe.
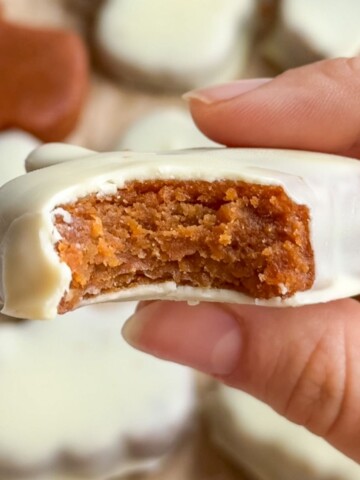
If you like this recipe, you’ll love baking these cake recipes next! Try this gluten-free chocolate cake, this vibrant vegan red velvet cake, and this fruity vegan apple cake.
Why You’ll Love This Harry Potter Cake
- Nostalgic & Eye-Catching: This Harry Potter themed cake design replicates the movie’s flavor and color scheme, creating nostalgia in each slice!
- Customizable: Make it your own by adjusting the colors, design, or flavors to fit your own personal style or the preference of the birthday person.
- Beginner-Friendly: Simple instructions make this recipe easy to prepare and fun to decorate for bakers of all skill levels.
- Rich Chocolate Flavor: The combo of a moist, fluffy texture makes it a rich dessert that’s irresistible at any gathering.
- Vegan-Friendly: This recipe calls for plant-based ingredients for all friends and family to enjoy!
Ingredients
- Cocoa Powder: The star ingredient in this Harry Potter cake recipe gives it a deep chocolate flavor.
- Vegan Buttermilk: I combine the dairy-free milk and apple cider vinegar together for a vegan buttermilk moisture, balance and richness.
- Vegan Yogurt: Plant-based yogurt adds tenderness to the dessert and acts as a binding agent, while giving a sweet and subtle tang.
- Flour: The cocoa powder may be the star, but the flour is the foundation that provides it the structure and stability - measure carefully!
- Sugars: This sweetens the batter, and gives a delicious crumb texture.
- Espresso Powder: Intensifies the chocolate without adding any real coffee taste.
- Vegan Butter: Butter creates a smooth, spreadable buttercream base.
- Neutral Oil: This keeps the cake moist and prevents it from drying out during the baking process. I used canola oil, but any neutral oil such as vegetable or sunflower oil will do!
- Leaveners: Baking powder and baking soda help the cake rise and ensure a light and fluffy consistency.
- Vanilla and Salt: Vanilla extract brings out the sweetness of the cocoa, while salt helps to balance the chocolate flavors.
- Food Coloring: Adding red and green food coloring brings the iconic Harry Potter Cake to life. Make sure you grab vegan food coloring as it commonly isn't vegan.
See the recipe card below for exact ingredient amounts, nutritional information, and detailed instructions.
Variations
- Explore Cake Flavors: While chocolate is a fan favorite, try experimenting with vanilla, red velvet or a rich espresso-flavored cake for a new unique version.
- Add Fillings & Toppings: Experiment with different fillings like raspberry chia jam, vegan ganache, chocolate chips or fresh fruit. Once you’ve frosted the cake, decorate with edible glitter or thematic sprinkles for an extra festive touch.
- Gluten-Free Option: Swap for a gluten-free flour blend to meet your dietary needs! Make sure it includes ingredients like xanthan gum so it mixes into the batter as smoothly as regular flour.
How to Make a Harry Potter Cake
Follow along and bake my vegan version of the magical Harry Potter themed cake! But first, gather all your ingredients and equipment. Line 2 even-sized spring form pans with parchment paper and preheat your oven to 350°F!

Step 1: Combine the Liquids. Whisk together the dairy-free milk and apple cider vinegar together to make the buttermilk. Set aside for a few minutes to curdle. Then, whisk together buttermilk, yogurt, oil and vanilla.

Step 2: Mix the Batter. Add the flour, cocoa powder, sugar, espresso powder, baking powder, baking soda, and salt, and mix until smooth.

Step 3: Bake the Cake. Divide the batter between two lined 6” springform pans and bake at 350°F for 35-40 minutes. Make sure to test with a toothpick for doneness!

Step 4: Make the Buttercream. While it bakes in the oven, grab your electric mixer and whip the butter until creamy. Then, at medium speed, gradually add the powdered sugar, vanilla, salt and milk. Color ½ cup of the buttercream with a few drops of green, and the remaining with a few drops of red food coloring until you get a light pink color.

Step 5: Level the Cake. Once the cake has cooled completely, level the tops of the cakes with a serrated knife.
Step 6: Frost the Cake. Stack the layers with pink frosting between them.

Step 7: ‘Crumb Coat’ the Cake. Next, cover the stacked cake with a thin layer of frosting. Refrigerate until it hardens.

Step 8: Finish Frosting the Cake. After it's chilled, frost the entire cake with the rest of the pink buttercream.

Step 9: Stencil the Letters. Use a toothpick to stencil the letters you will be piping on.

Step 10: Pipe, Decorate & Enjoy. Place the green icing in a piping bag with a small tip and pipe the letters “Happy Birthdae Harry.” Carve out the dent with a toothpick for authenticity.
Storage Directions
- Make Ahead of Time: Bake the Harry Potter themed cakes, allow them to cool completely before wrapping each layer in plastic wrap and storing in the fridge for up to 2 days. Store the frosting separately in an airtight container in the fridge for up to 1 week.
- Leftovers: If you find yourself with leftovers, you can store the whole cake or individual slices tightly wrapped in plastic wrap, aluminum foil or airtight container for up to 1 week in the refrigerator or up to 3 months in the freezer.
Serving Suggestions
Here are some of my favorite Harry Potter cake serving ideas when slicing it up at your next Harry Potter marathon, birthday party or friendly gathering.
- Presentation is everything! Display it on a whimsical stand or decorative platter that reflects the magic of the story.
- To get the full experience, serve the dessert alongside themed beverages such as pumpkin juice or a butterbeer-inspired drink. Not into the thematic drinks, go for a refreshing mango and blueberry smoothie or a creamy matcha latte.
- For a fun addition, serve it warm with a scoop of vegan ice cream or a dollop of vegan whipped cream, and a sprig of fresh mint.
- Serve this dessert alongside vegan bruschetta and vegan au gratin potatoes for your next family get together or special occasion.
Expert Tips
- Measure Precisely: Measuring is key when baking! Use measuring cups and spoons when adding ingredients like flour, cocoa powder, baking powder or baking soda, ensuring the best texture and taste. After mixing the batter, use a scale to accurately divide the batter evenly between the pans.
- Electric Mixer: I recommend using an electric mixer (standing or handheld) when making the buttercream. This will create a smooth icing, and save you time!
- Room Temp Butter: For a creamier frosting, leave the butter to soften on the kitchen counter 2-3 hours prior to making the buttercream.
- Decorating Tools: There are so many helpful tools out there. For this Harry Potter Birthday cake, use an offset spatula or icing smoother when spreading the frosting, and use a Wilton piping tip #5 or a plastic bag with a corner snipped off to pipe the thick letters. I recommend outlining the letters on the cake first with a toothpick, then piping the icing on top of the outline.
- Enhance the Colors: Prepare the frosting a couple of days ahead to intensify the color. Alternatively, you can microwave in 10 second intervals, stirring each time until you reach your desired hue, being careful not to overheat and melt the icing completely.
Recipe Video
Recipe FAQs
Absolutely! For a sheet cake, use a 9x13 inch pan and bake at the same temp for 20-25 minutes. For cupcakes, divide the batter into muffin tins and bake for 18-20 minutes. Be sure to test with a toothpick to make sure it’s fully baked!
Sift the flour and cocoa powder to break up any lumps, ensuring a smooth batter with even mixing. It also incorporates air, which can make your baked goods lighter and fluffier.
It’s super easy - just insert a toothpick into the center! If it comes out clean or with a few moist crumbs, it’s ready to go!

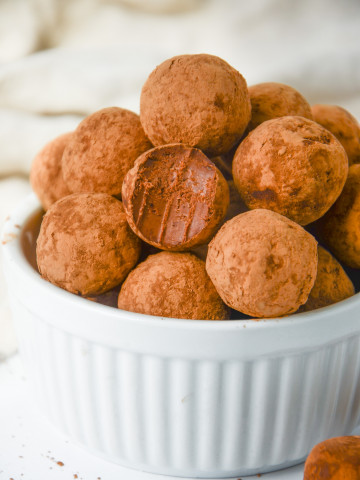
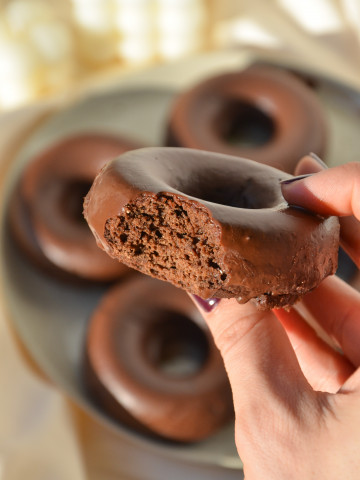
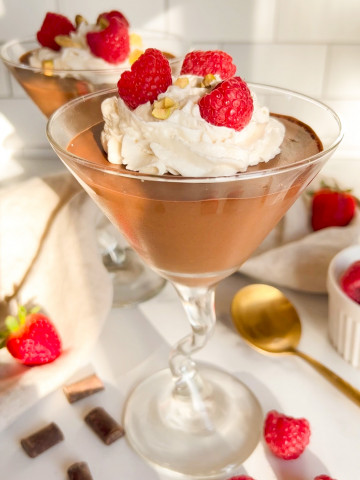
More Delicious Chocolate Dessert Recipes

Harry Potter Birthday Cake
Ingredients
Dry Ingredients
- 1 ¾ cups all-purpose flour
- ¾ cup natural unsweetened cocoa powder
- 1 cup sugar
- 2 teaspoon espresso powder
- 2 teaspoon baking powder
- ¾ teaspoon baking soda
- ½ teaspoon salt
Wet Ingredients
- 1 ½ cups dairy-free milk + 1 tablespoon apple cider vinegar to make vegan "buttermilk"
- ½ cup plain unsweetened vegan yogurt
- ½ cup neutral oil I used canola oil
- 2 teaspoon vanilla extract
Vegan Buttercream
- 4 cups powdered sugar sugar
- 1 cup unsalted vegan butter at room temperature
- 1 tablespoon vanilla extract
- 3 tablespoon dairy-free milk
- ½ teaspoon salt
- a few drops of red food dye
- a few drops of green dye
Instructions
- Start by whisking together the dairy-free milk and acv together and set them aside for a few minutes. This will be your vegan buttermilk.
- In a large bowl, add all of the wet ingredients, followed by the dry ingredients, and whisk together.
- Note: I highly recommend sifting the flour and cocoa powder, or you might get uneven clumps.
- Split the cake into two even-sized, parchment-lined springform pans (mine are 6").
- Bake the cakes at 350F for 35-40 minutes, until a toothpick comes out clean from the center. Baking times may vary depending on the kind of pan you use and your oven, so check up on your cakes!
- While the cake is baking, whisk together the buttercream ingredients. I recommend using a stand mixer or hand mixer to beat the butter first, then slowly adding the powdered sugar, vanilla, salt, and milk while mixing on medium speed.
- Set aside about ½ cup of frosting. Add in a few drops of red dye to the large frosting batch until you get a light pink color. Add a few drops of green to the smaller batch.
- Once the cake has fully cooled, level the cake, add a layer of pink frosting on top of one of the cakes, then place the other on top.
- "Crumb coat" the cakes by covering them in a layer of frosting. Refrigerate until that layer hardens. Then, add the rest of the pink frosting to the cake.
- Place the green frosting in a piping bag with a small tip and pipe the letters "Happee Birthdae Harry". I recommend outlining the letters lightly with a toothpick first, then piping the frosting on top of your outline.
- I also used a toothpick to carve out the dent in the cake from Hagrid sitting on it, just like in the movie.
- Slice your cake and enjoy it with your Harry Potter marathon!
Notes
- Measure Precisely: Measuring is key when baking! Use measuring cups and spoons when adding ingredients like flour, cocoa powder, baking powder or baking soda, ensuring the best texture and taste. After mixing the batter, use a scale to accurately divide the batter evenly between the pans.
- Electric Mixer: I recommend using an electric mixer (standing or handheld) when making the buttercream. This will create a smooth icing and save you time!
- Room Temp Butter: For a creamier frosting, leave the butter to soften on the kitchen counter 2-3 hours prior to making the buttercream.
- Decorating Tools: There are so many helpful tools out there. For this Harry Potter Birthday cake, use an offset spatula or icing smoother when spreading the frosting, and use a Wilton piping tip #5 or a plastic bag with a corner snipped off to pipe the thick letters. I recommend outlining the letters on the cake first with a toothpick, then piping the icing on top of the outline.
- Enhance the Colors: Prepare the frosting a couple of days ahead to intensify the color. Alternatively, you can microwave in 10 second intervals, stirring each time until you reach your desired hue, being careful not to overheat and melt the icing completely.
isabel
Love this!! Making this for my dairy free friend's bday and this was so helpful! Thank you!
Gaby Dimova
so happy to hear that!! 🙂 i hope she loves it!