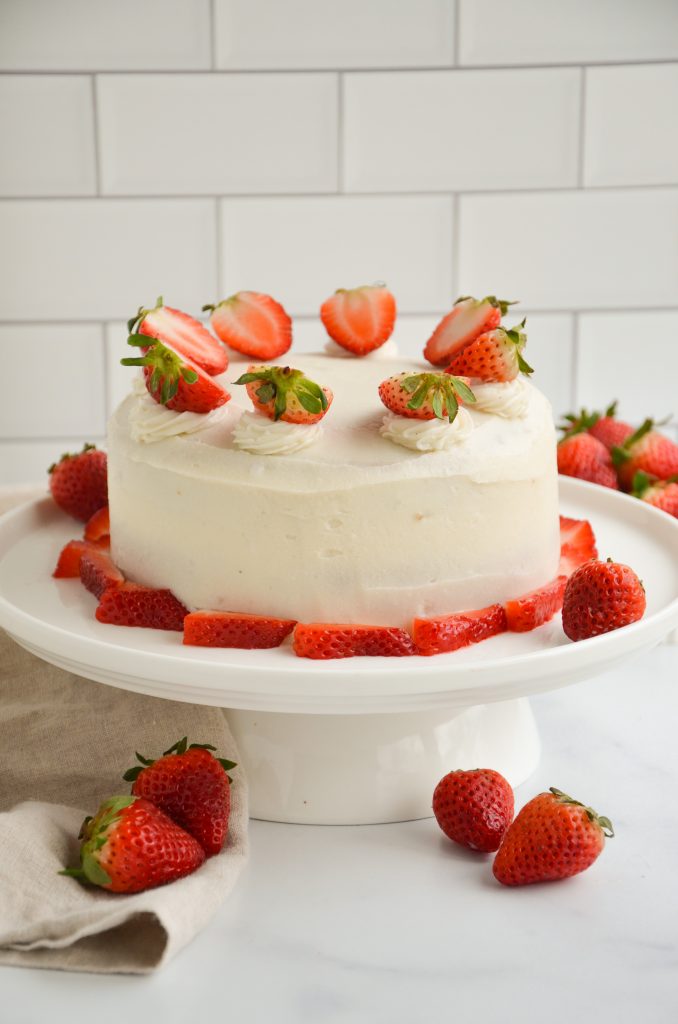
This gluten free vegan vanilla cake recipe is soft, fluffy, and delicious and has an almond cake base. You'll never know that it's free of dairy, eggs, or gluten! It's perfect to bring to a special occasion like a birthday party, or to enjoy as a sweet treat at home.
Even though this cake is gluten free and uses almond flour, I think it tastes even better than traditional cake! Almond flour is just ground up almonds, which add a nutty flavor to the recipe. Since they are naturally oily, they help make the most perfect moist cake recipe!
This cake is also made with a delicious tangy cream cheese frosting that perfectly balances out the sweetness of the cake.
What you'll need to make the perfect cake
Dry Ingredients
- gluten free baking flour or all purpose flour: see details on flour below under alternatives and alterations. If you don't need the cake to be gluten free, you can replace the gf flour with regular ap flour.
- almond flour: for best results, I really recommend buying almond flour instead of almond meal. While both are made of ground almonds, almond flour is made from blanched almonds and is more finely ground. This makes it better for baking. You will not get the same texture with almond meal. Here is the brand that I used in this recipe.
- cornstarch: also known as corn flour if you are in the UK.
- white cane sugar / caster sugar: I used white sugar to keep the color of the cake light, since it is a vanilla cake. However, you can definitely use coconut sugar, or brown sugar if you prefer. Liquid sweeteners like maple syrup, honey, or agave syrup will not work in this recipe.
- baking soda
- dash of salt
Wet Ingredients
- flax eggs (ground flaxseeds + water): this is your egg replacer.
- plant milk + apple cider vinegar or white vinegar (this is your vegan buttermilk): I used unsweetened almond milk to emphasize the almond flavor, but you can use soy milk, coconut milk, oat milk, or any other kind dairy-free milk you prefer. You can also use lemon juice to substitute for apple cider vinegar, if you do not have any on hand.
- vanilla extract: in this recipe, I used clear vanilla extract. This is completely optional, but because this is a vanilla cake, I wanted the sponge part of the cake to be light in color. Since there is quite a lot of vanilla in this recipe, regular vanilla tended to darken the sponge of the cake, so clear vanilla worked best for me aesthetically. However, the taste will be the same if you use regular.
- coconut oil: you can also use canola oil, vegetable oil, or olive oil. However, olive oil will give you a slightly darker more golden color and slightly alter the taste.
- optional: almond extract, for extra nutty flavor
Frosting Ingredients
- vegan cream cheese: use plain cream cheese (not with flavors added). I used Kite Hill. I have also heard that Tofutti works great, but I cannot seem to find it in stores near me.
- coconut oil (or vegan butter): use cold or room temperature, not melted.
- powdered sugar
- vanilla extract: again, I used clear vanilla just to keep the frosting light.
Full ratios for all the ingredients are in the recipe card at the bottom of the post.
Adjustments and alternations
A little bit about gluten-free flour
To make this cake gluten free, I used two different types of flour. Almond flour, which is naturally gluten free, and gluten free baking flour.
What is gluten free baking flour?
Gluten free baking flours are flours that are specifically designed to be used in place of all purpose regular flour in traditional recipes. They use a variety of ingredients like sweet white rice flour, whole grain brown rice flour, potato starch, whole grain sorghum flour, tapioca flour, and xanthan gum in order to imitate the way that ap flour bakes. They are super versatile and I'm so glad that they are becoming more widely available, because it makes gluten free baking a much easier task!
There are two brands that offer gluten free flour blends that are popular and that I'm a fan of. They are by the brands Bob's Red Mill and King Arthur Baking. I have linked each of their gluten free baking flours that I really like, that would work in this recipe. There might be others that work well, but these are the only two I know of that I find easily in all grocery stores in my area (Whole Foods, Walmart, Jewel, Mariano's, etc.). These are perfect for gluten free cake recipes and make for nice fluffy cakes even without the gluten!
Sugar Free Frosting
This recipe is actually relatively low in sugar for a cake! I worked really hard to create this recipe so that it fits many dietary needs and isn't high of sugar, but still tastes amazing and no one can tell that it's a slightly "healthier" cake.
If you wanted to make it even lower in sugar, you can use powdered sugar alternatives, which are becoming really popular lately.
One in particular that I keep hearing about is monk fruit sweetener. I have had many readers and fellow food bloggers tell me its a great powdered sugar substitute, so I wanted to include it in here, incase that's an option you are looking for. This brand seems to be the one that people are fans of, so I am linking it for you. However, full disclosure that I have not tried this recipe with it, so I cannot vouch for it. However, it's a 1:1 powdered sugar substitute, so it should work just the same, but without any of the calories of sugar!
Layering the cake
I personally think that cake layers make a cake super look sophisticated and the ratio of cake to frosting when taking a bite of a layered cake is immaculate. However, I completely understand that not everyone has the time or patience to create a two layer cake, so I wanted to provide some options for those of you that are in a time crunch, or don't want to bother with the layers.
Option one: Instead of dividing the batter into two separate cake pans, baking them separately and then stacking them on top, you can bake all of the batter in one cake pan. After the single large cake has been baked and has cooled, simply level the top of the cake (when the cake bakes, it will have formed a dome, and you need to flatten it out in order to get an even cake). Once you have leveled the top of the cake, frost it has normal.
Option two: An even easier method (and one I would recommend if you are strapped for time), is to make a sheet cake. Instead of baking the cake in a round springform pan, simple bake it in a rectangular cake pan. You don't even need to remove it from the cake pan after baking. Simply spread the frosting on top of the sheet cake once it has cooled, and serve as is! This method couldn't be easier.
Turning this vegan & gluten free vanilla cake into a birthday cake
This recipe is the perfect vegan and gluten-free birthday cake to serve for birthday parties or special occasions where there will be people with lots of dietary restrictions. To make it look even more festive, I recommend adding sprinkles inside of the batter before baking it, so that when you slice into it, it looks like a funfetti cake! Then, instead of the strawberries as decoration, you can add more sprinkles on top.
Kitchen tools you'll need
- 2 springform pans: you will need these to bake the two cakes in. You can use a regular cake pan, but I like using a springform pan because you can easily remove the bottom and sides of the pan and there is no danger of the cake falling apart while you are trying to remove it from the pan. This is the exact cake pan that I use.
I used two 6-inch springform pans and split the cake batter evenly among the two, but if you do not have two equal sized pans, you can bake the cake in a single pan, and then use a cake leveler to spit it into two separate cakes. Here is a helpful tutorial on how to level cake.
Note: I used two 6-inch pans, and this cake recipe was just the right amount for those two. If you are using a larger springform pan, like a 9 inch one, then consider doubling the recipe because this recipe might not give you enough batter. You can easily double the recipe by clicking the X2 in the recipe card at the bottom of the post, and the recipe card will automatically double the recipe for you, so that you do not even have to do any math!
- electric mixer: an electric hand mixer or a stand mixer is super helpful in making sure that you get a creamy and smooth frosting. It can be mixed by hand, but an electric mixer makes this much easier and faster.
- kitchen scale (optional): this is definitely not a requirement because you can use measuring cups instead, but I find that it can sometimes be tricky to get the exact amount of flour using a measuring cup, so I find that weighing my flour is the best way to ensure I am measuring correctly. This is why I have included the grams for this recipe in the recipe card. You can definitely just make this recipe using measuring cups, but make sure you are measuring correctly. Here is a great video showing how to correctly measure flour.
How to make the best vegan cake
Start by setting the oven temperature to 350F/ 175C .
First prepare the flax egg and vegan buttermilk by combining the ingredients aside and letting them set for about five minutes.
In a large mixing bowl, combine all of the dry ingredients- the flour blend, sugar, cornstarch, baking soda, and salt. Mix them well.
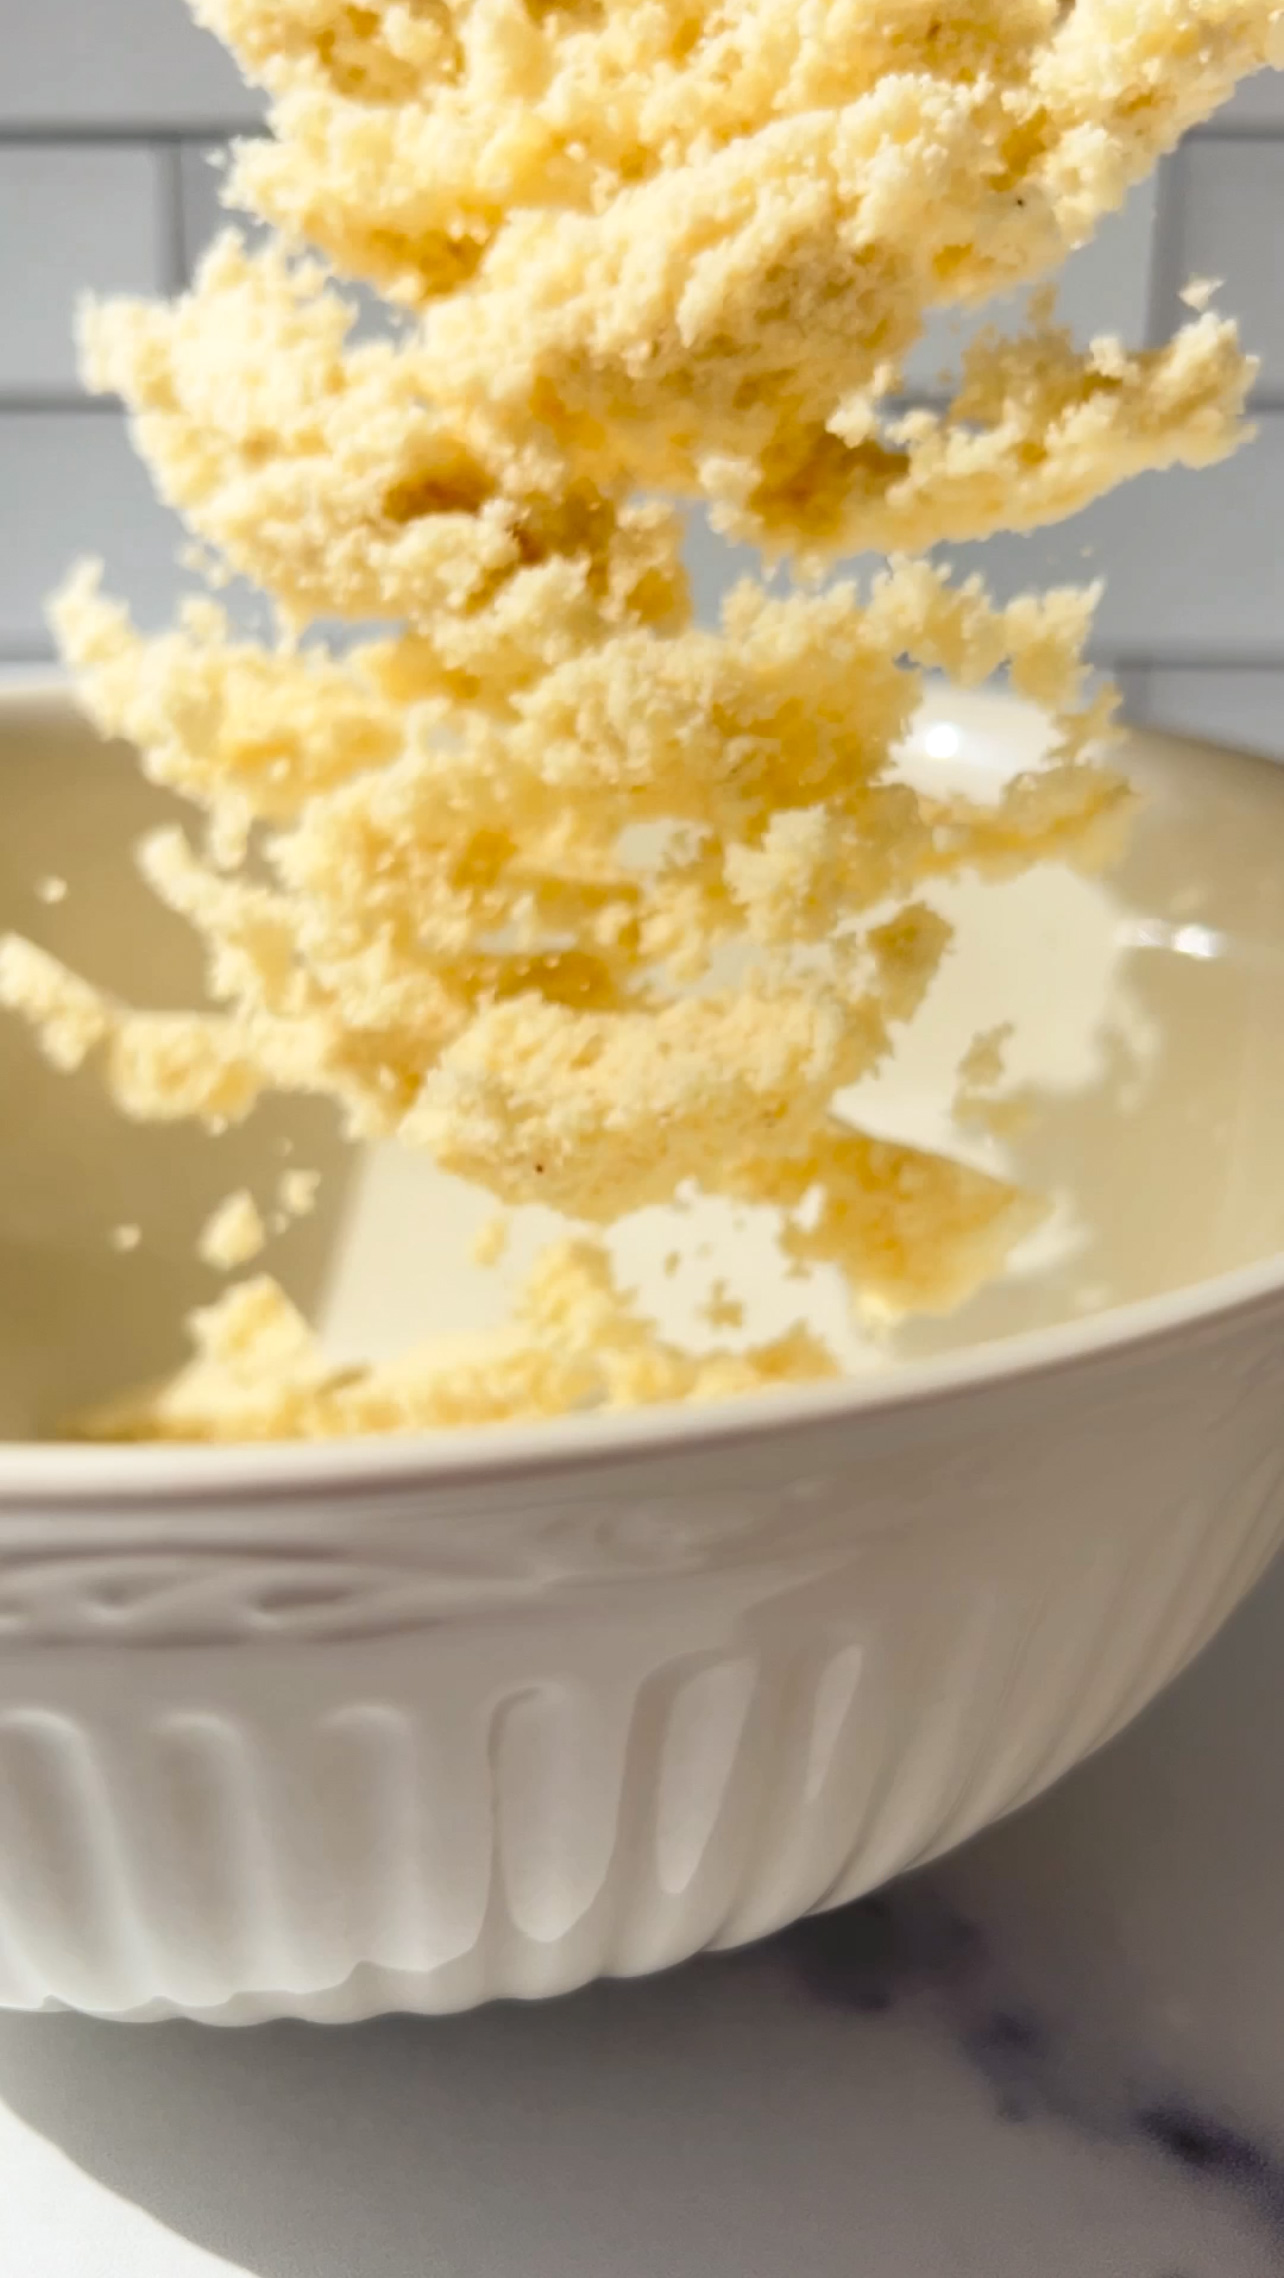
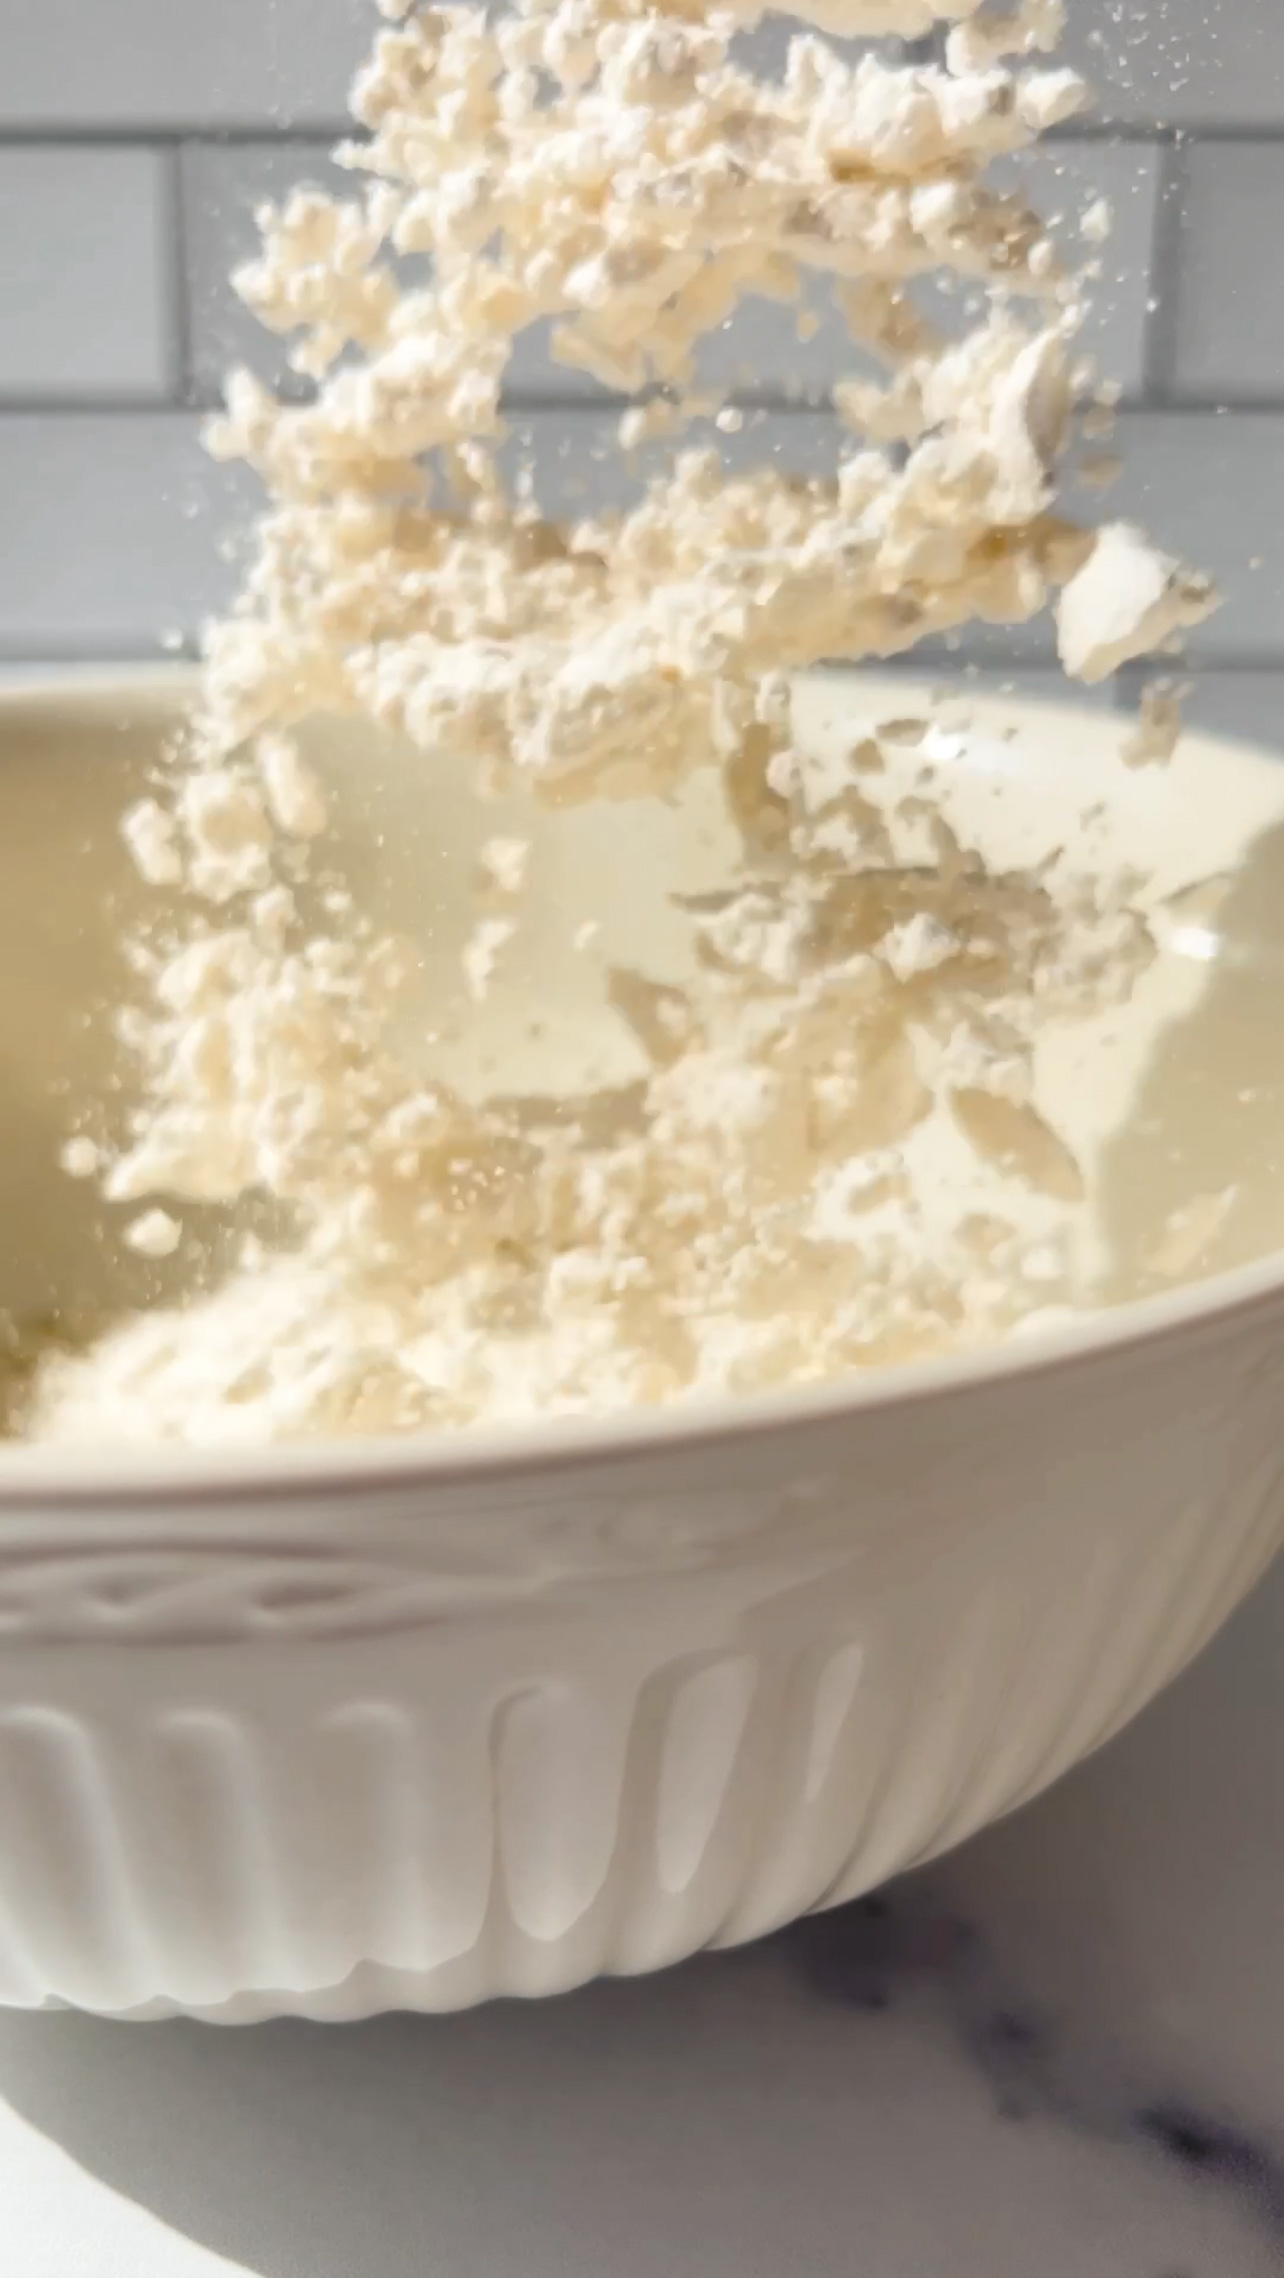
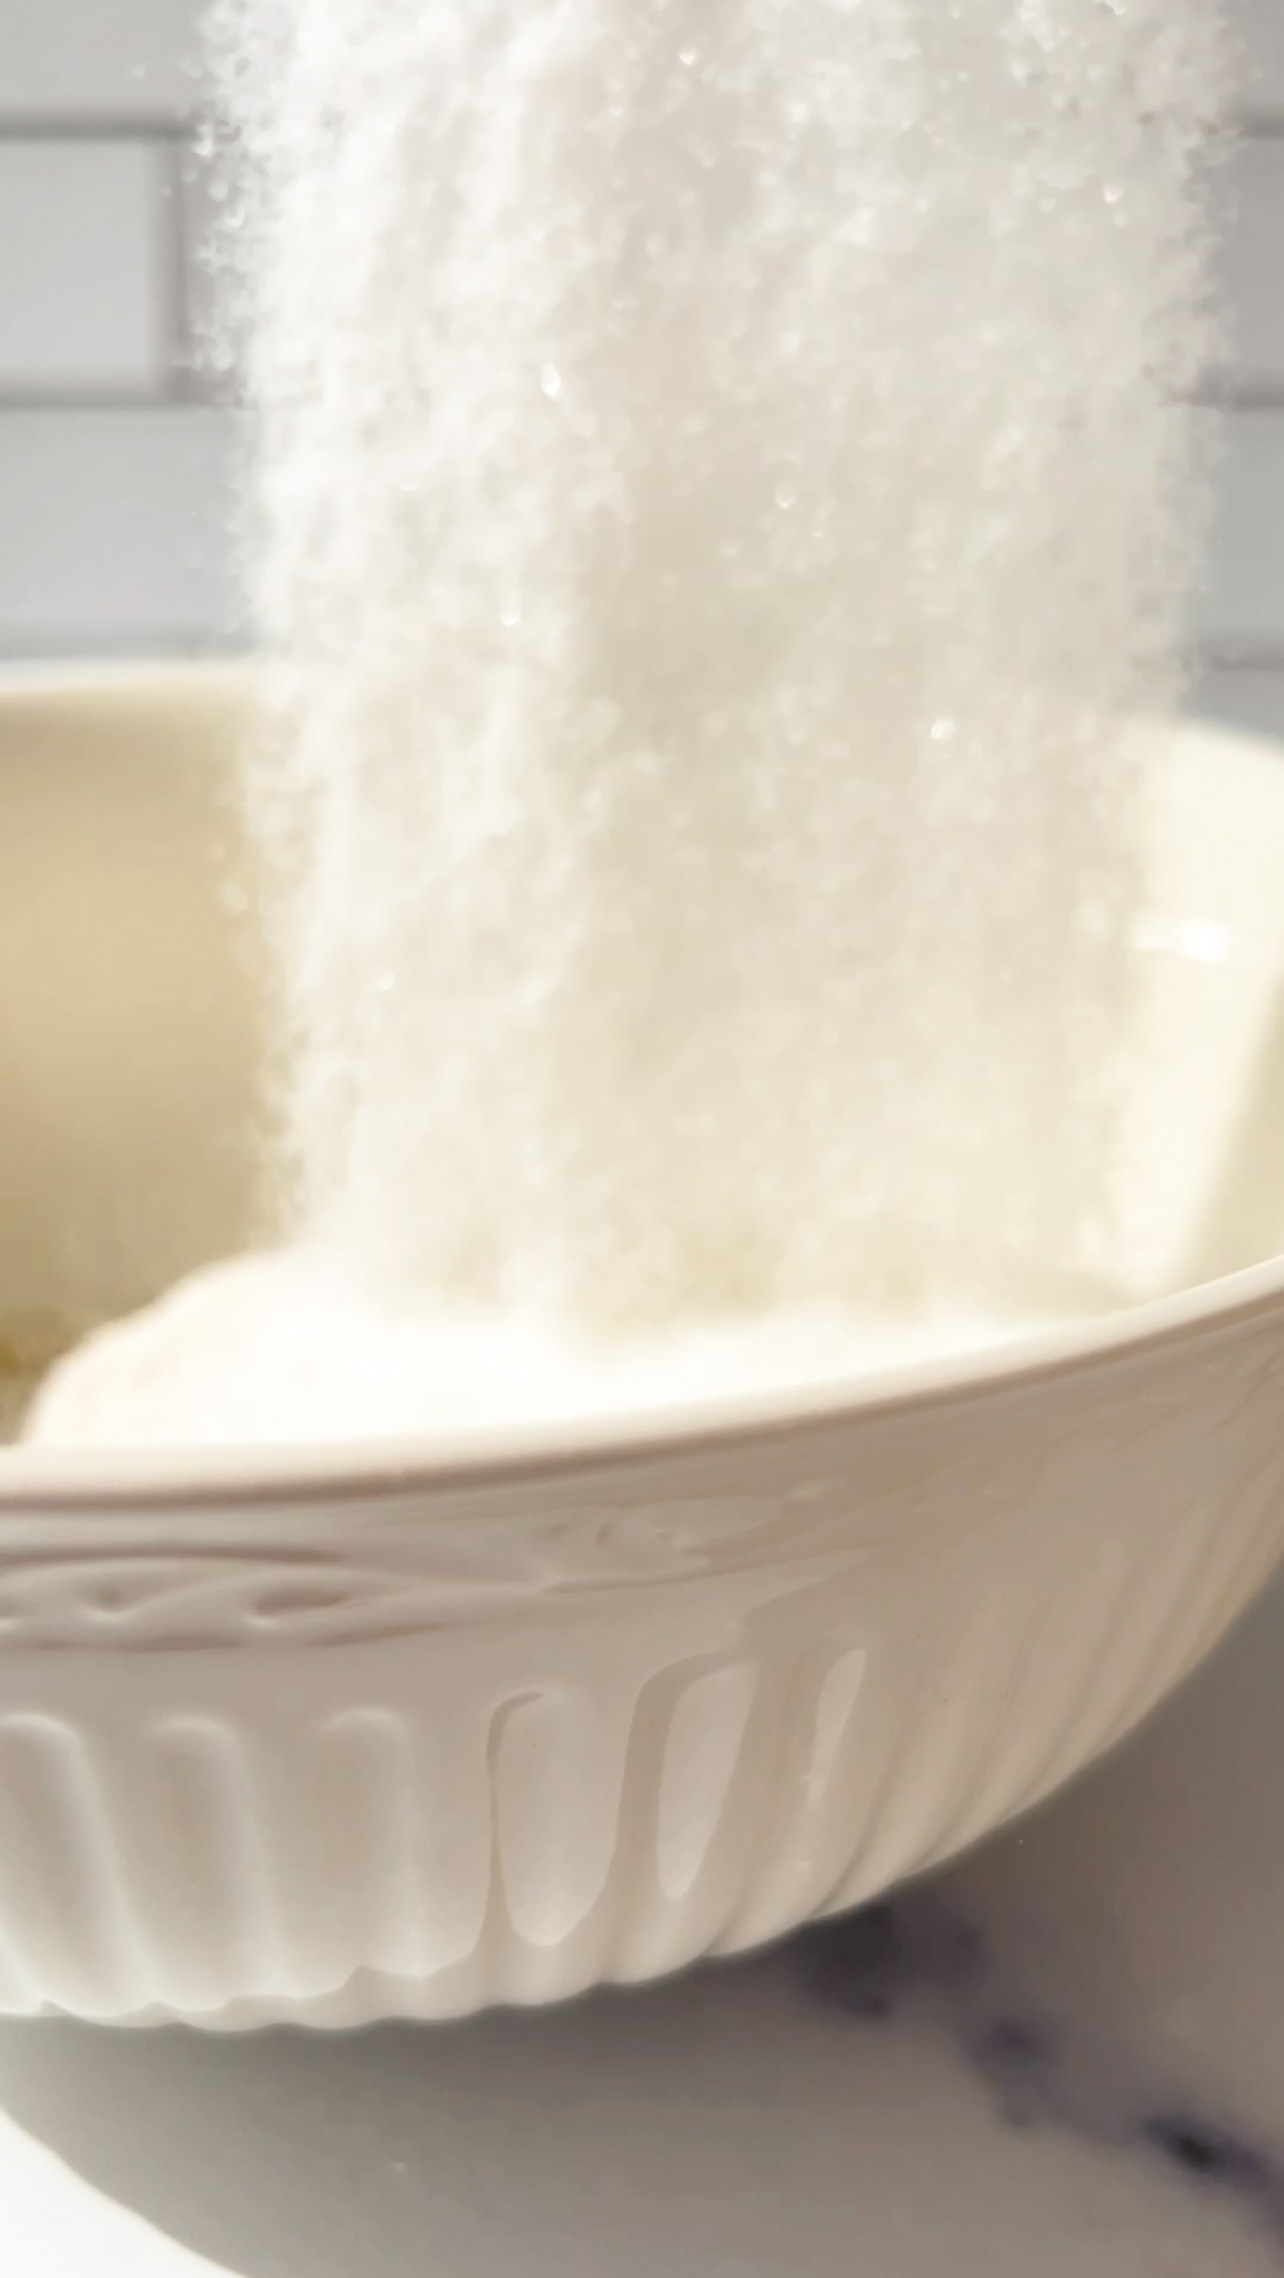
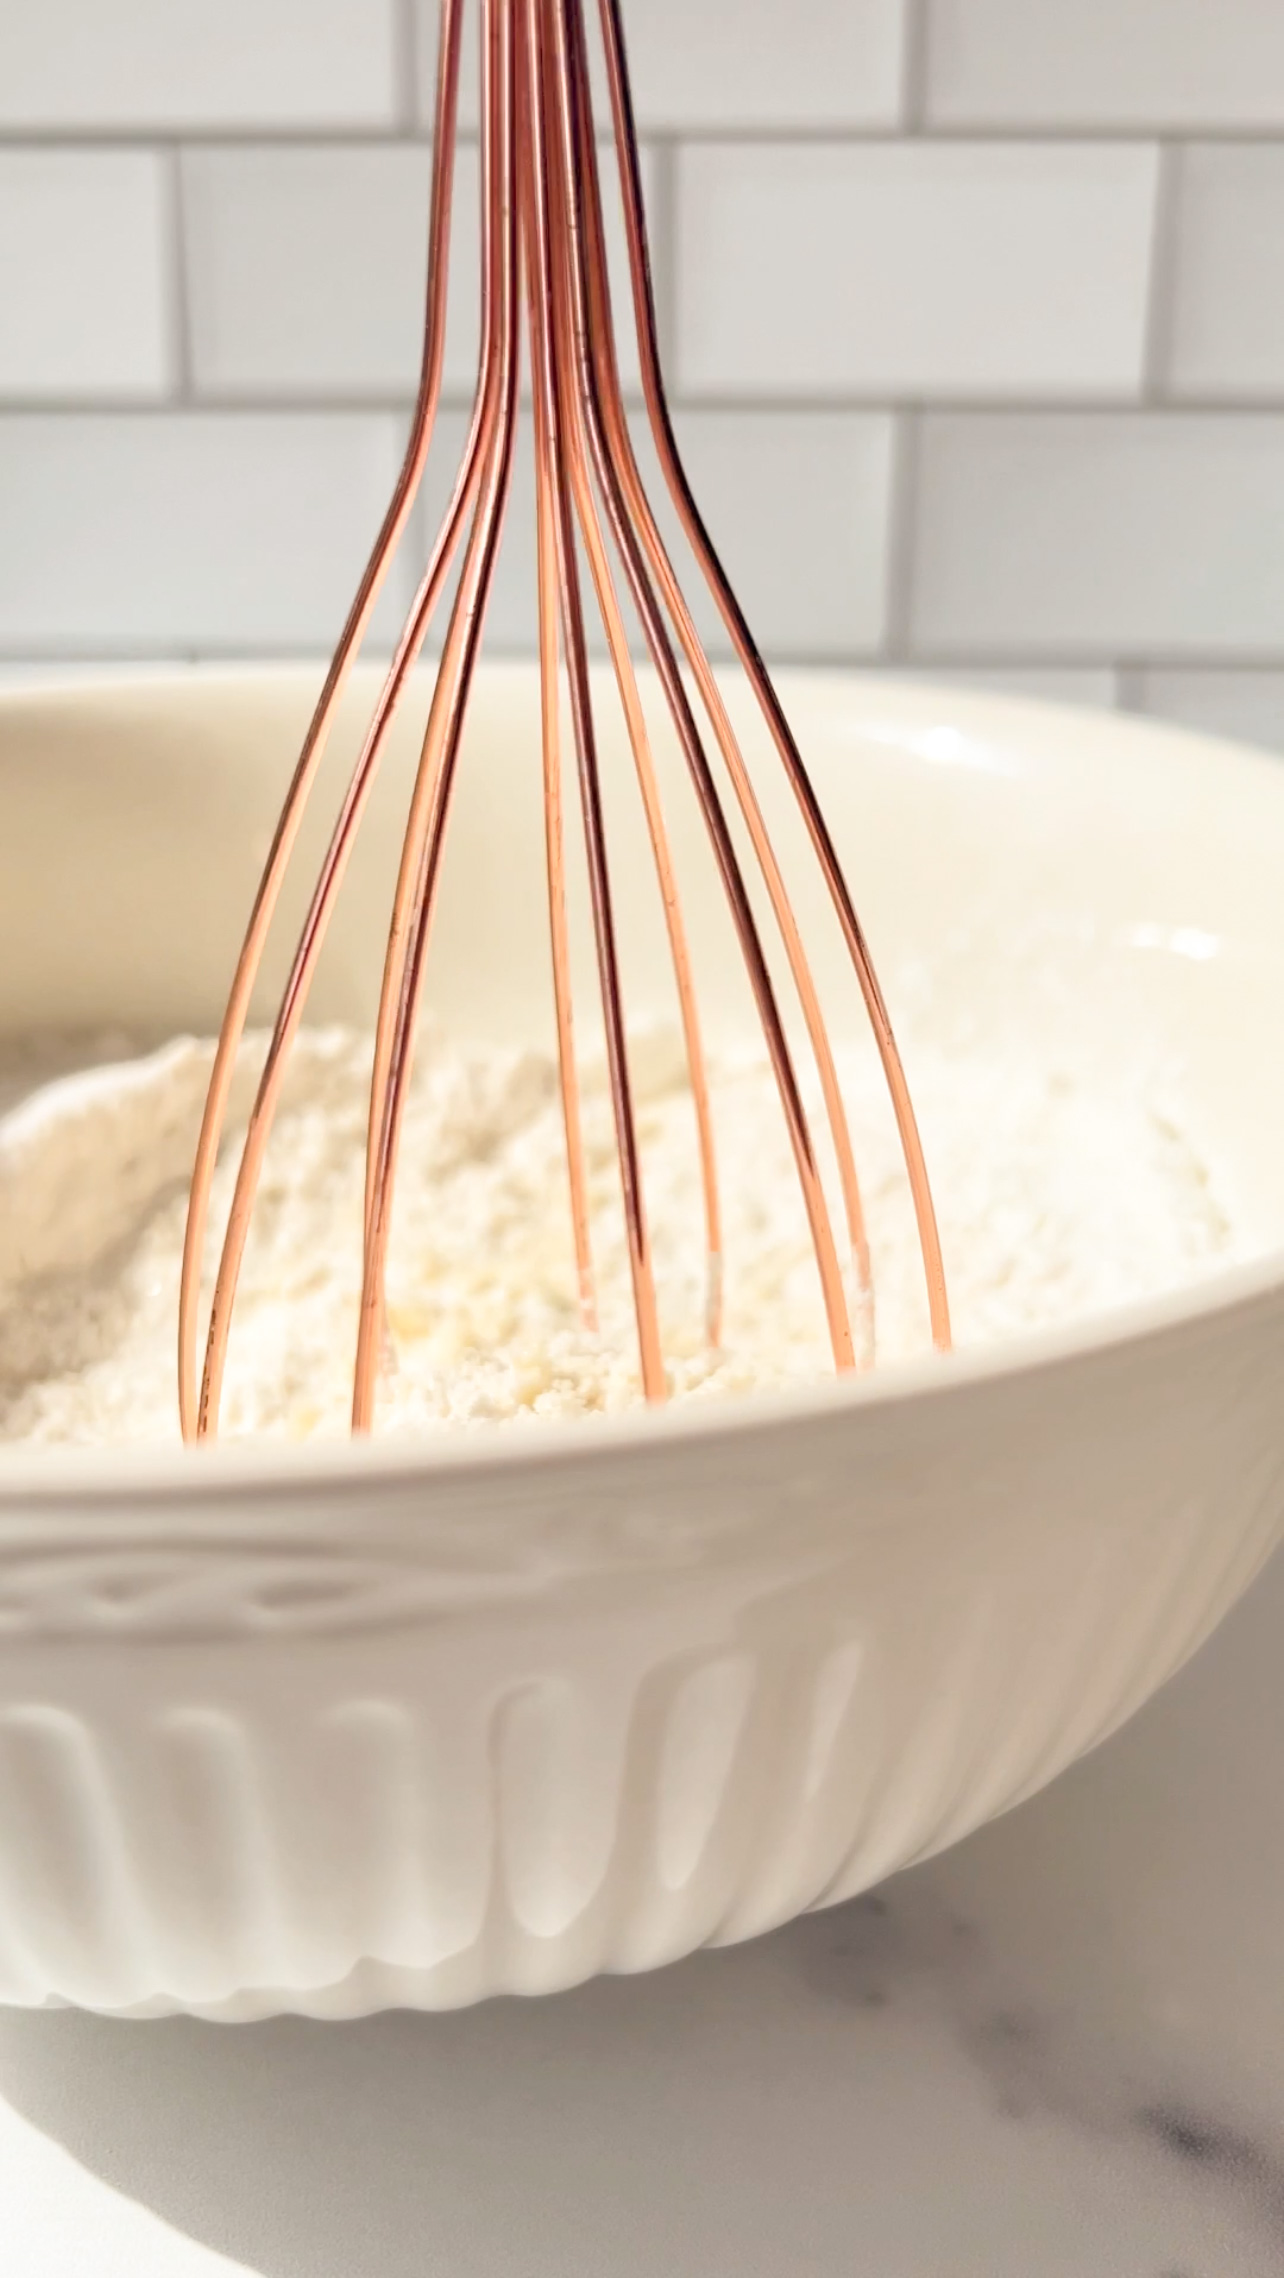
In a separate bowl, combine all of the wet ingredients: flax egg, non-dairy milk & ACV, coconut oil, and vanilla. Mix them well.
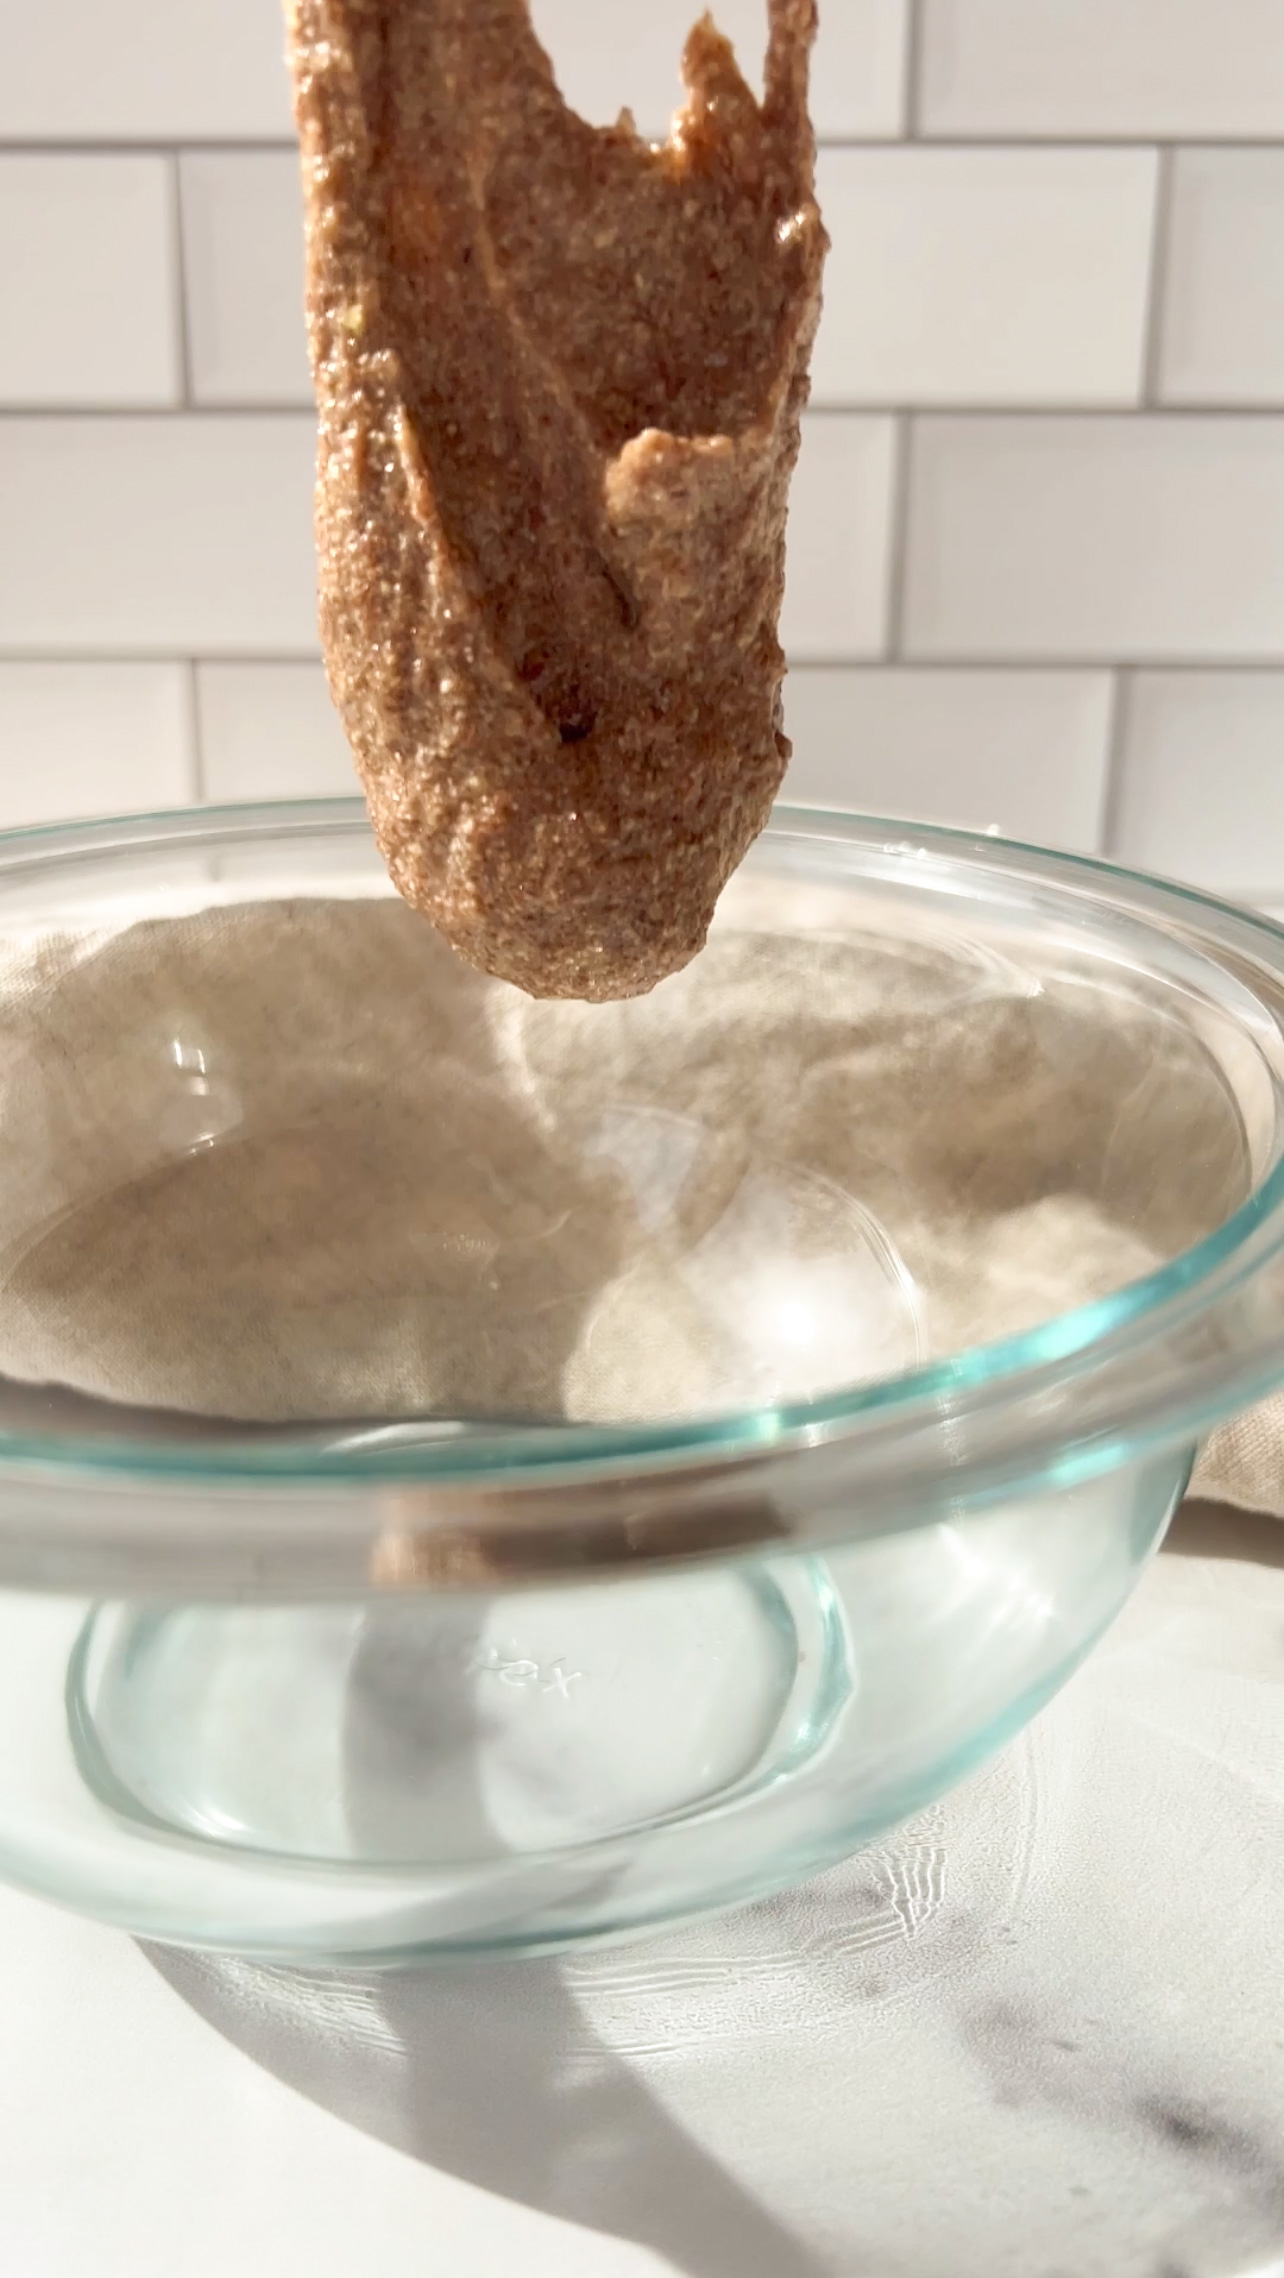
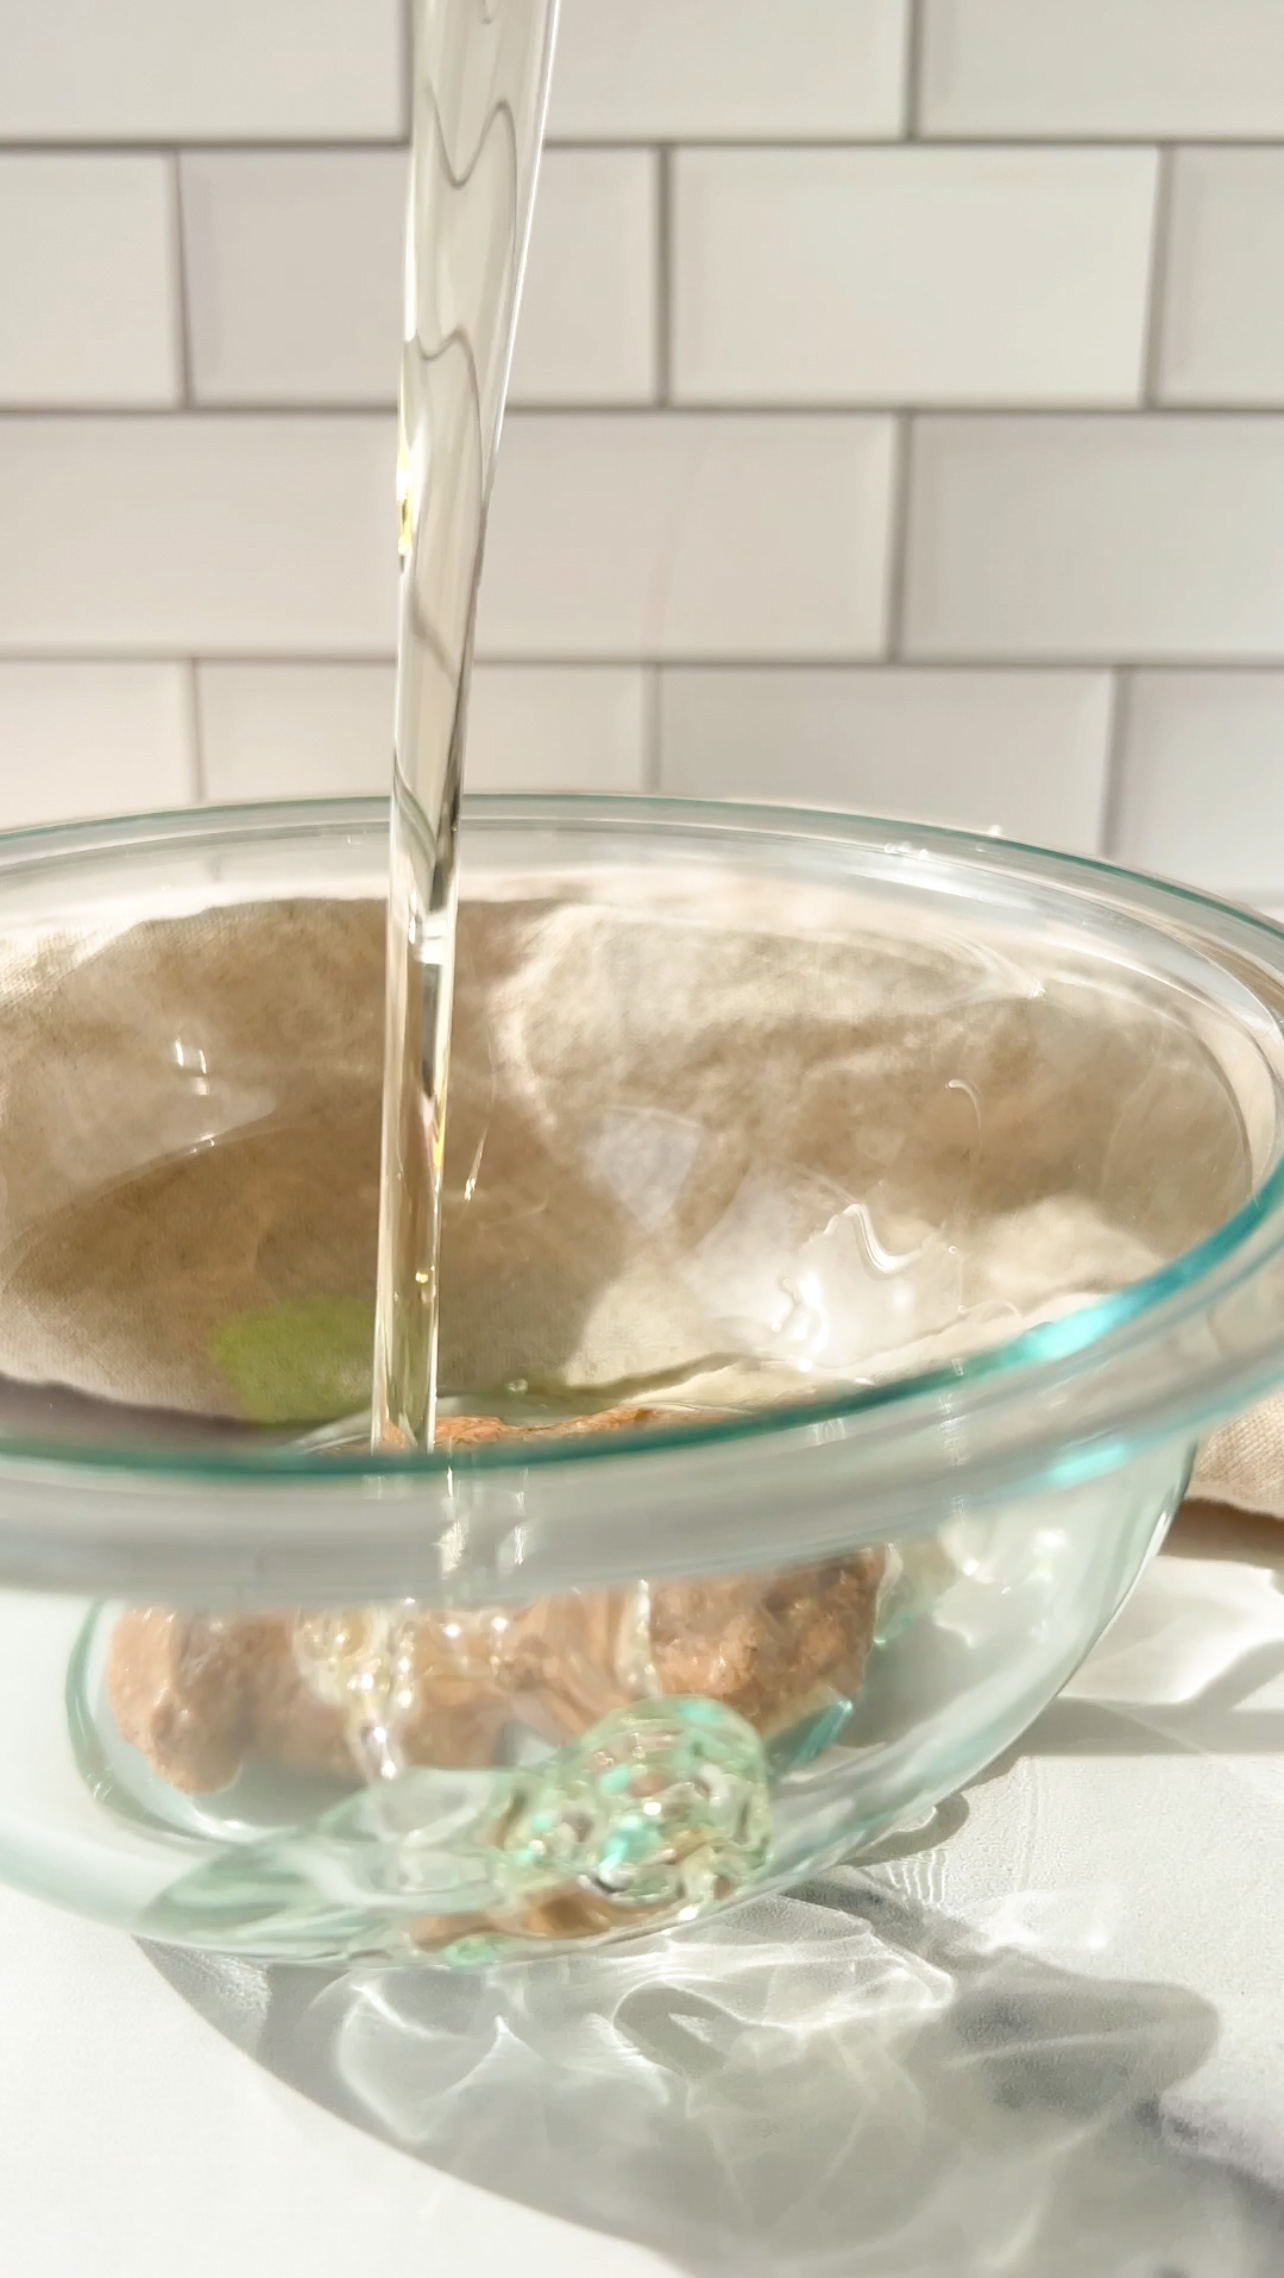
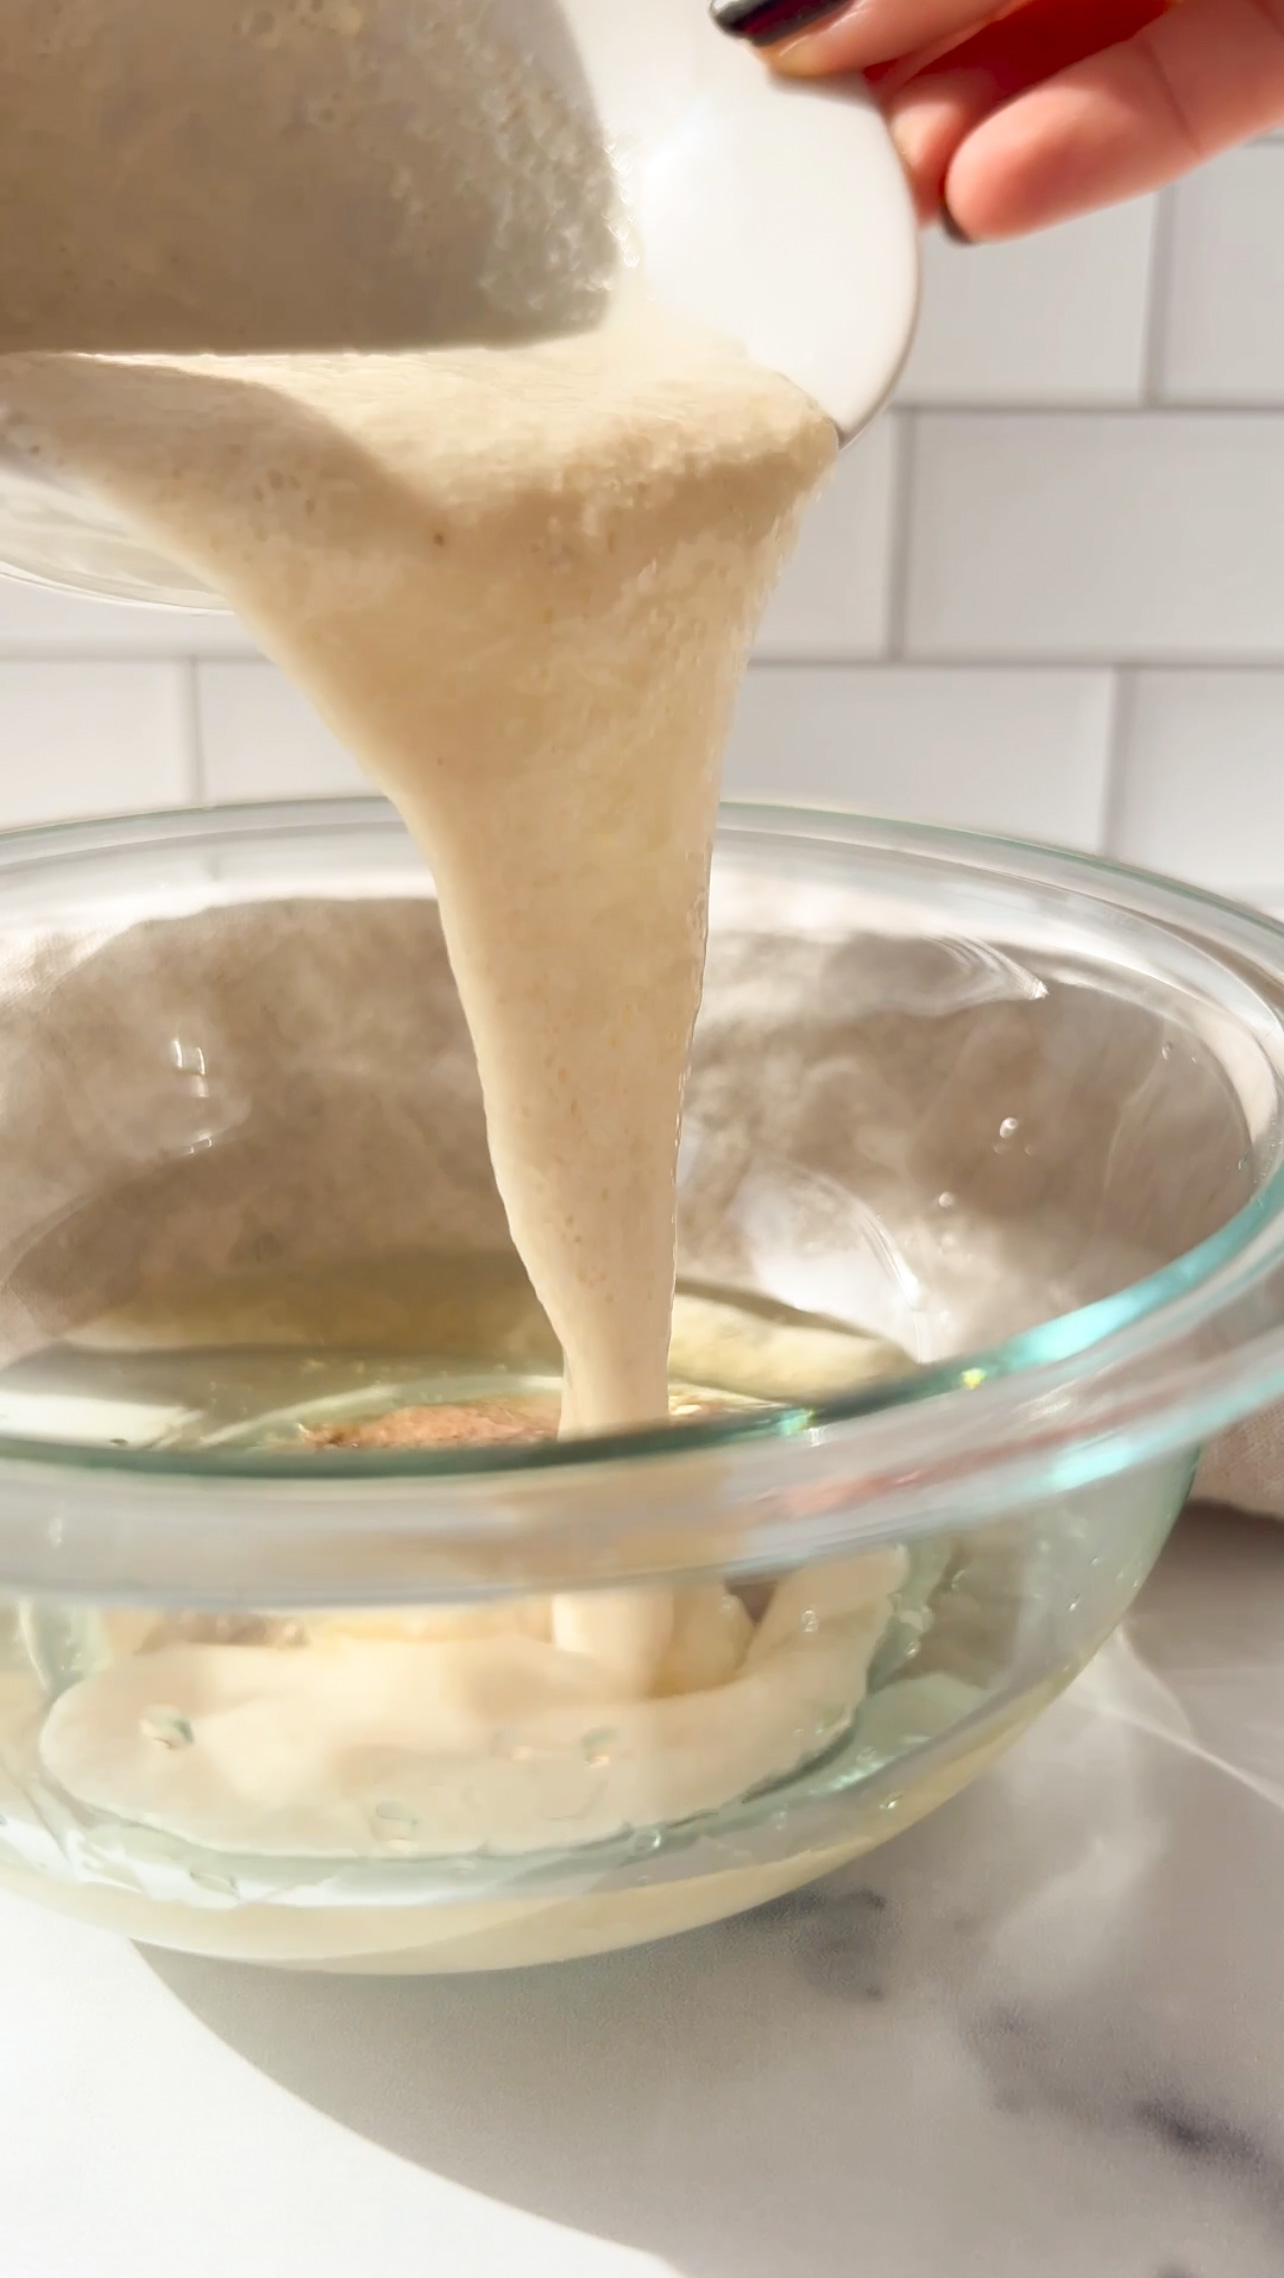
Add the flour mixture to the wet mixture and mix together until they are well combined. Try not to overmix them.
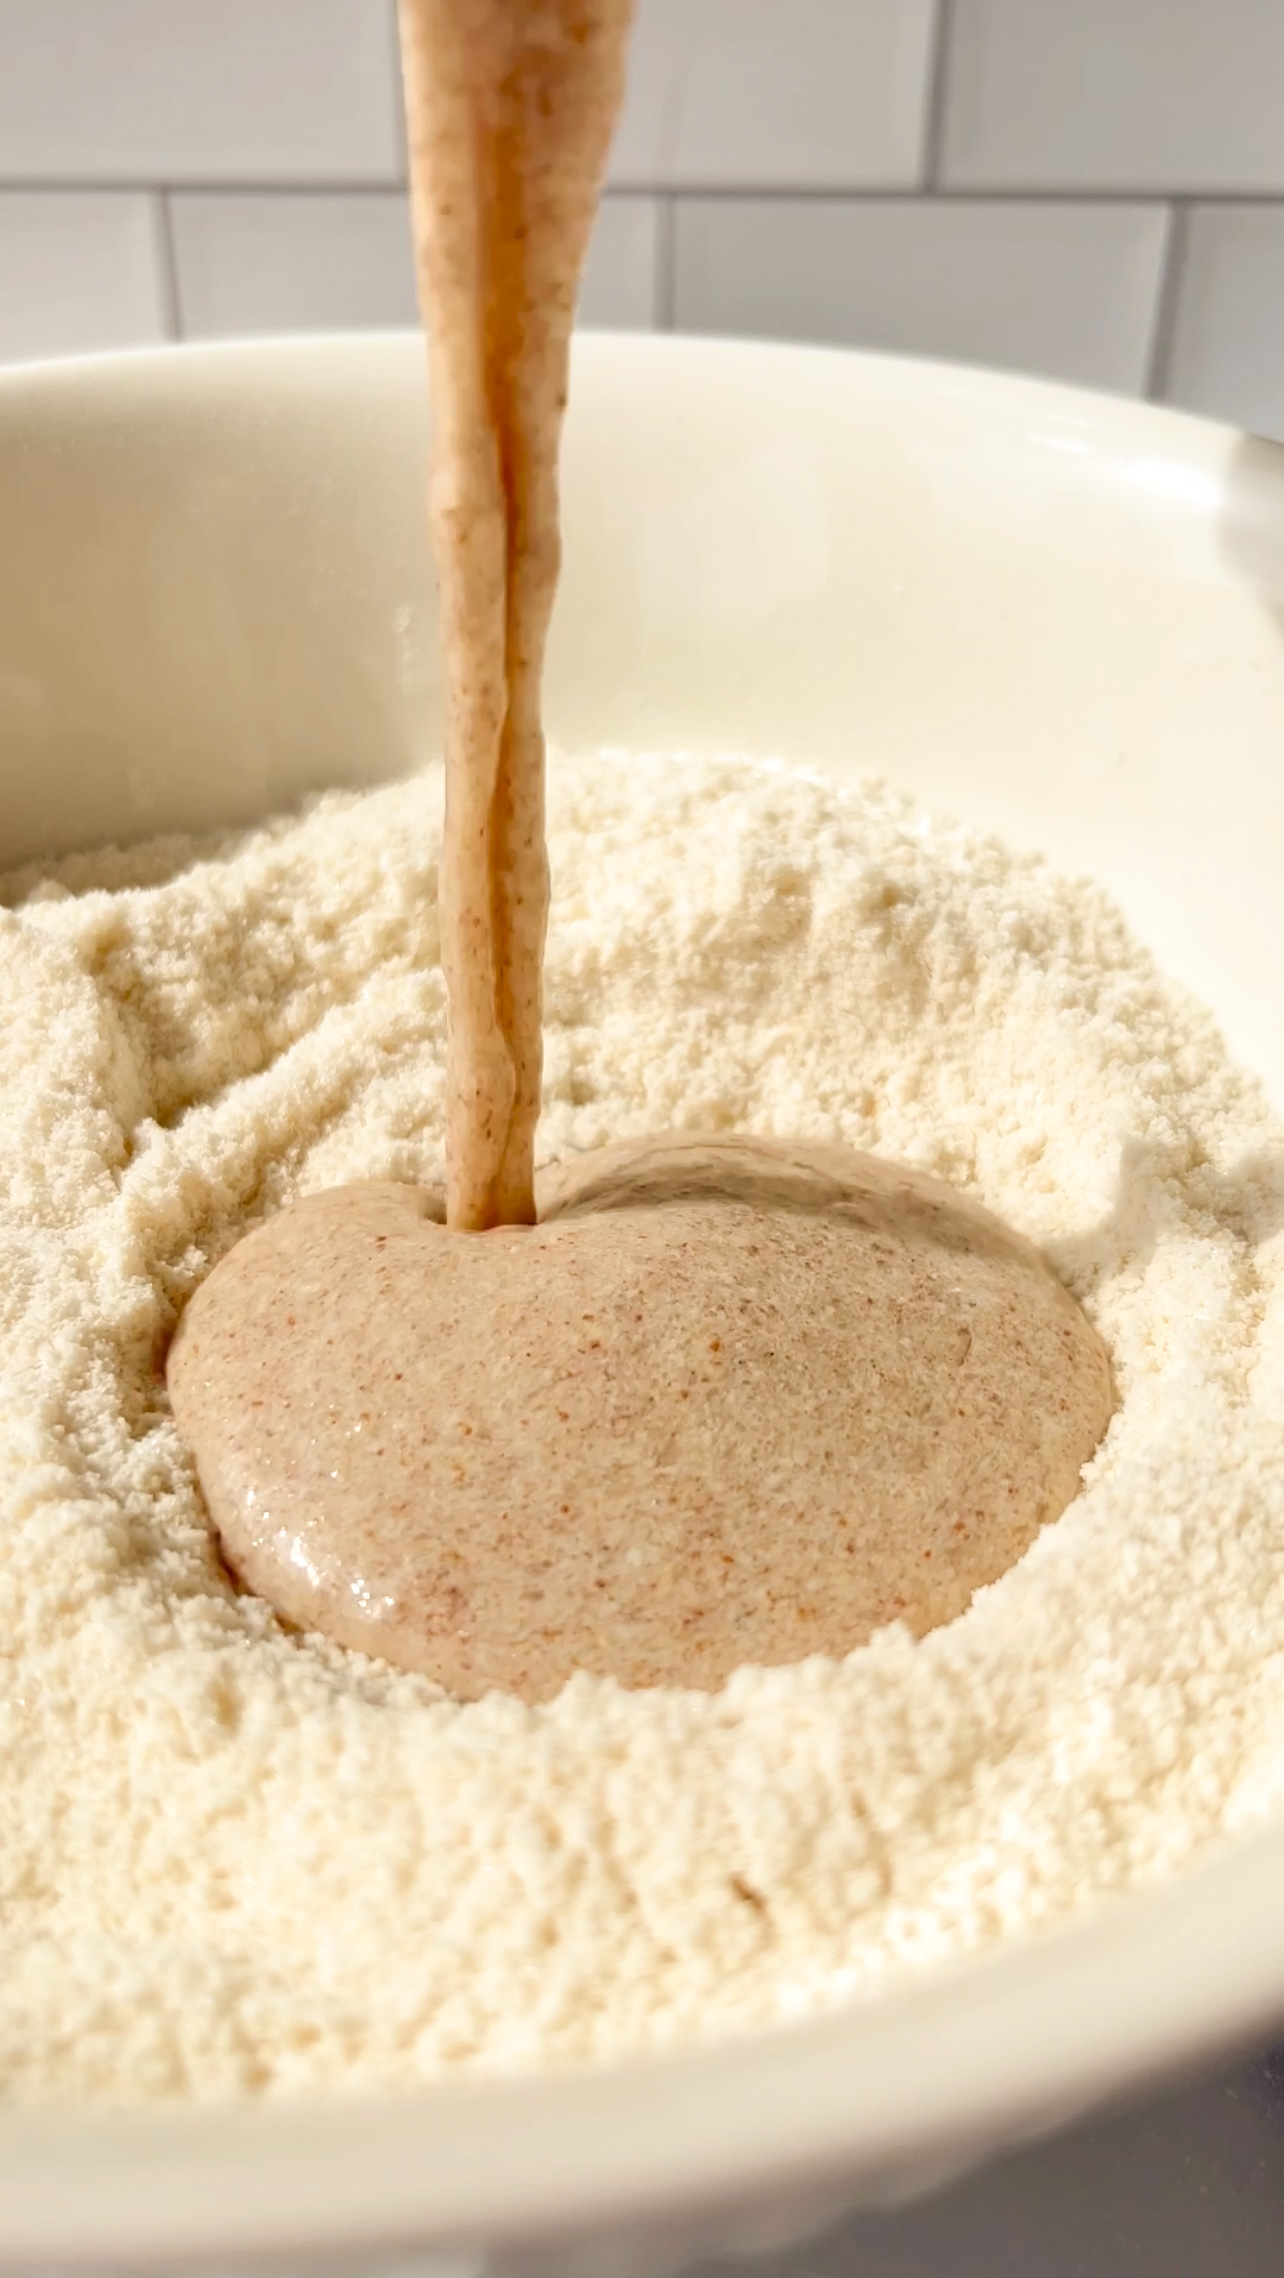
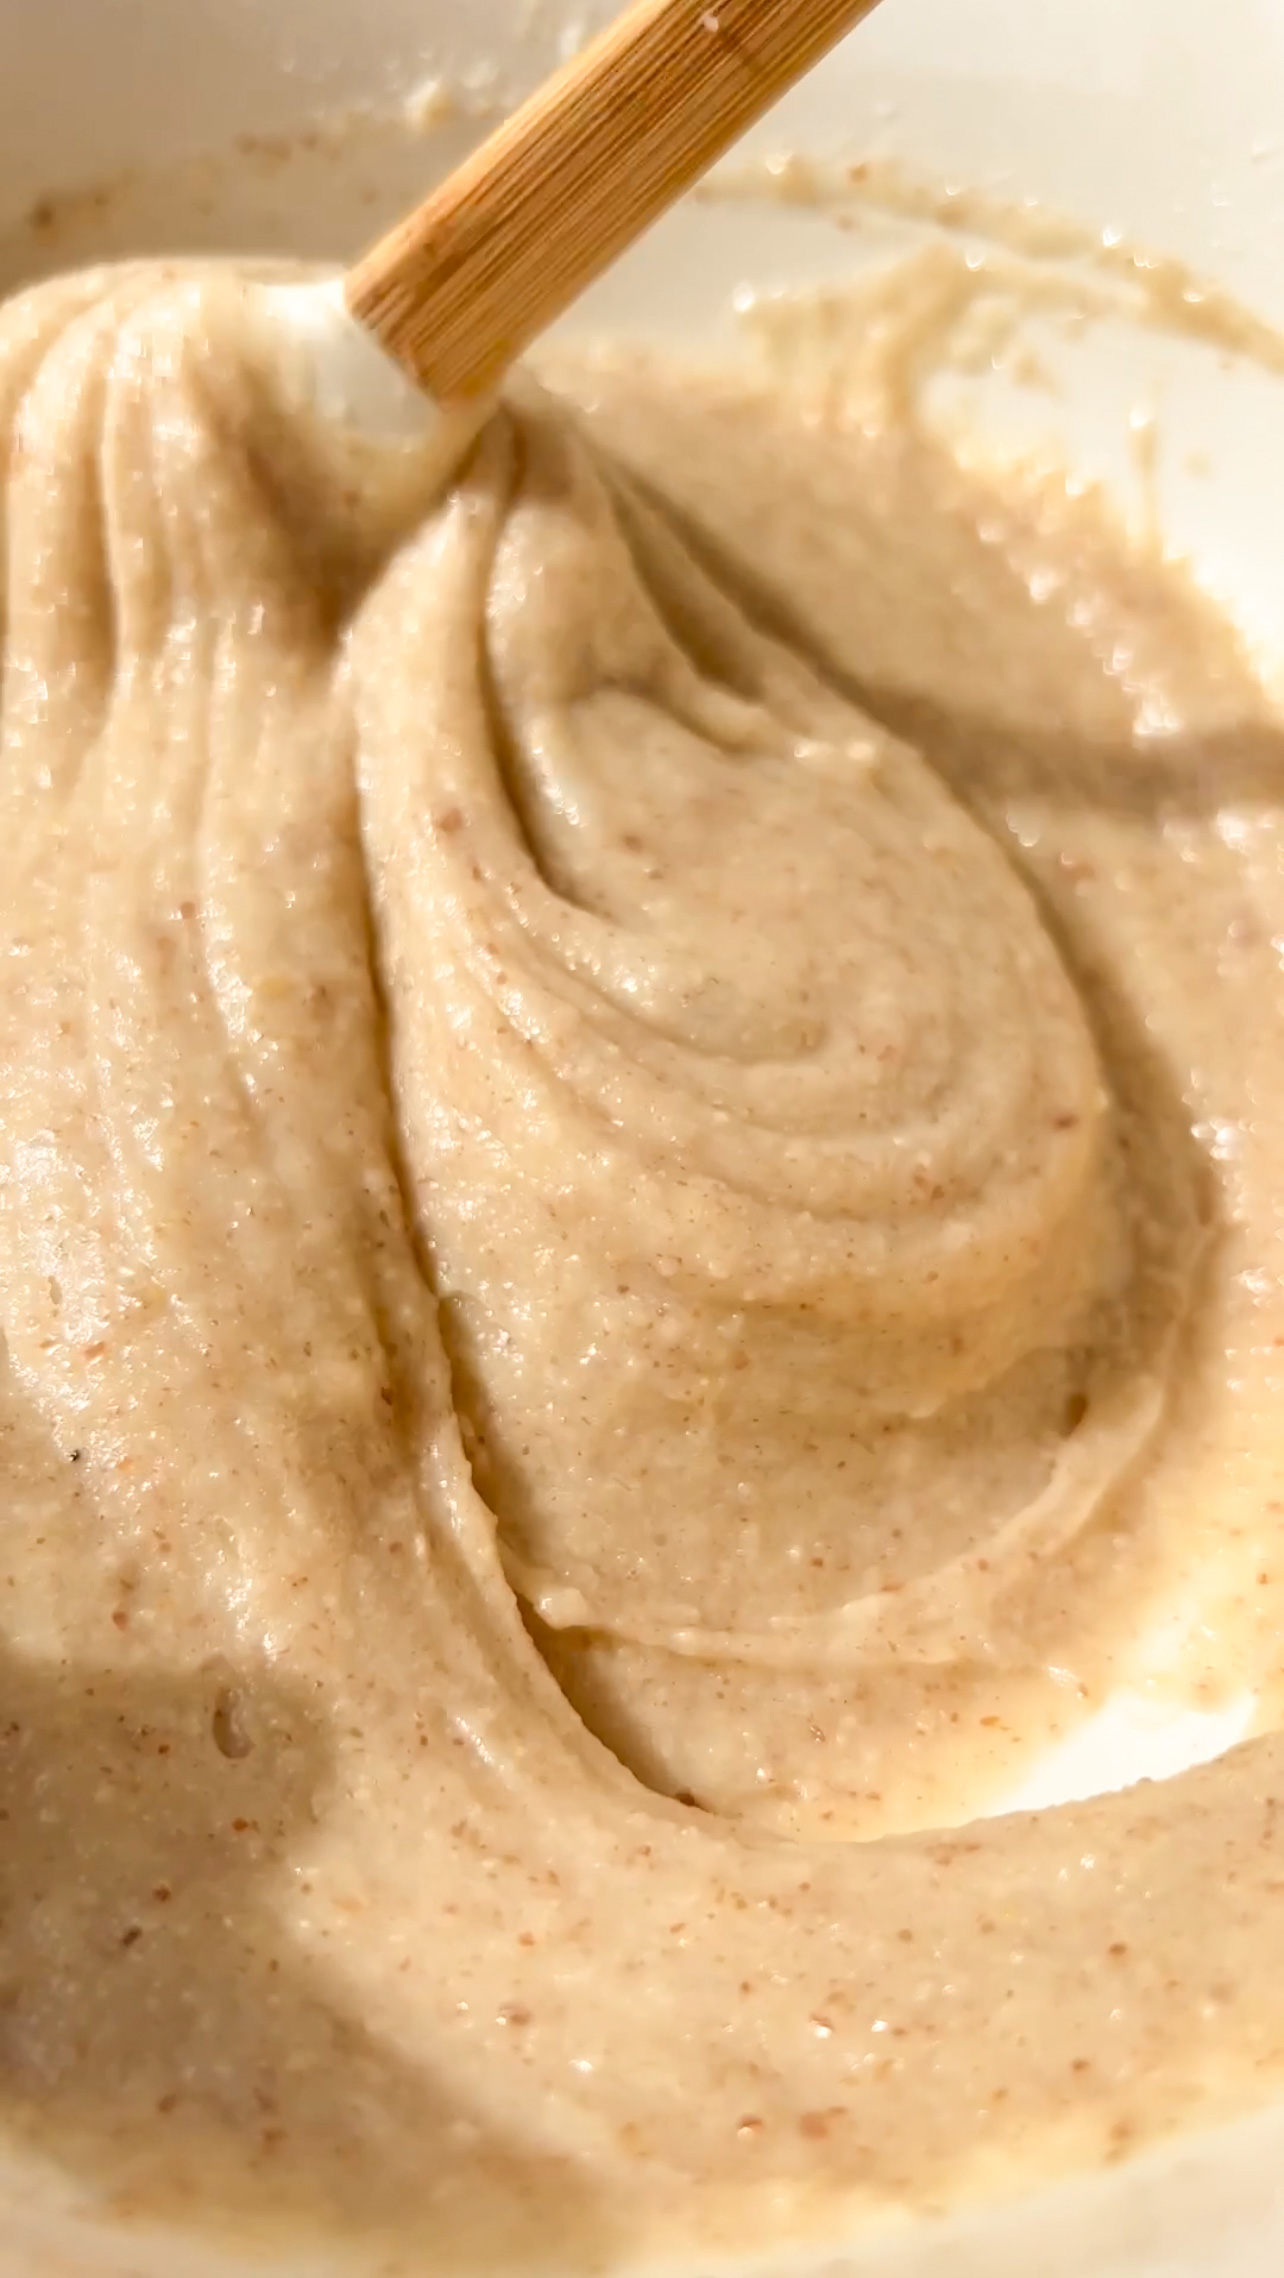
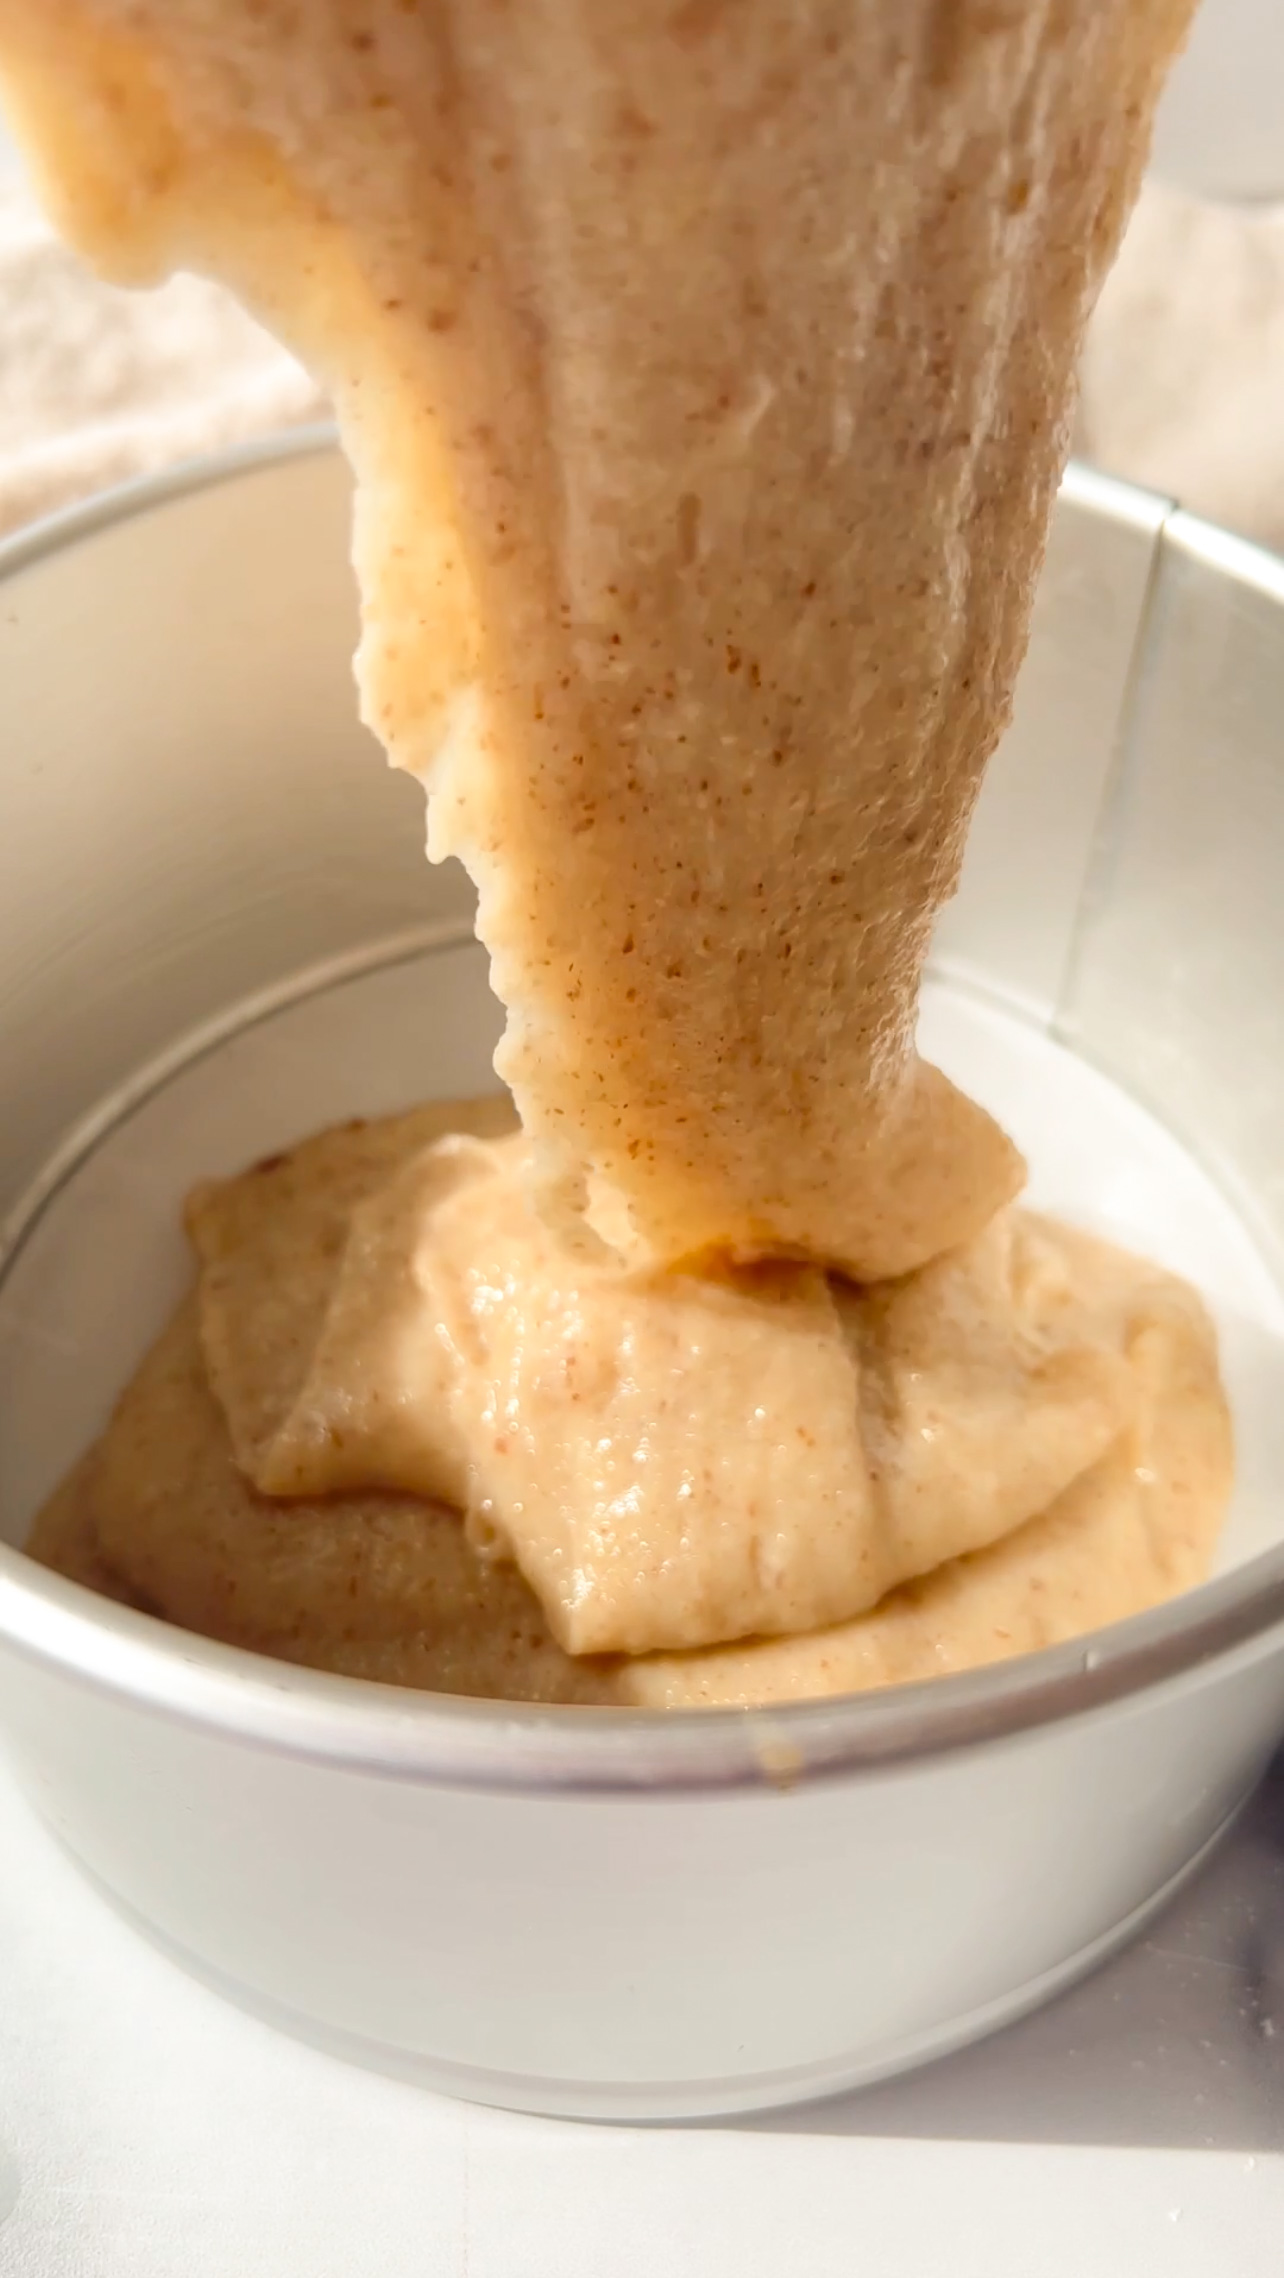
Grease two small cake pans (I used 6" springform pans) and cover the bottoms with parchment paper. Pour the cake batter evenly into the two pans and flatten out the tops of the cakes.
Bake the vegan cakes at 350F/ 175C for 40-45 minutes. Bake until the top is golden brown in color. Perform the toothpick test to see if it's fully baked through. Stick a toothpick in the middle of the cake. If the toothpick come out clean (with no batter on it), the cake is ready!
I baked mine for exactly 40 and it turned out perfect, but your oven might be different.
Once the cakes have baked, take them out and give them plenty of time to cool. Then gently remove each cake from its cake tin and set them on a wire rack to cool some more.
I used a cake leveler to level out the little dome that forms at the top of each cake. I do this so that the cakes can have a flat top and are more easily stackable. If you don't have a cake level, you can use a serrated knife to flatten out the tops.
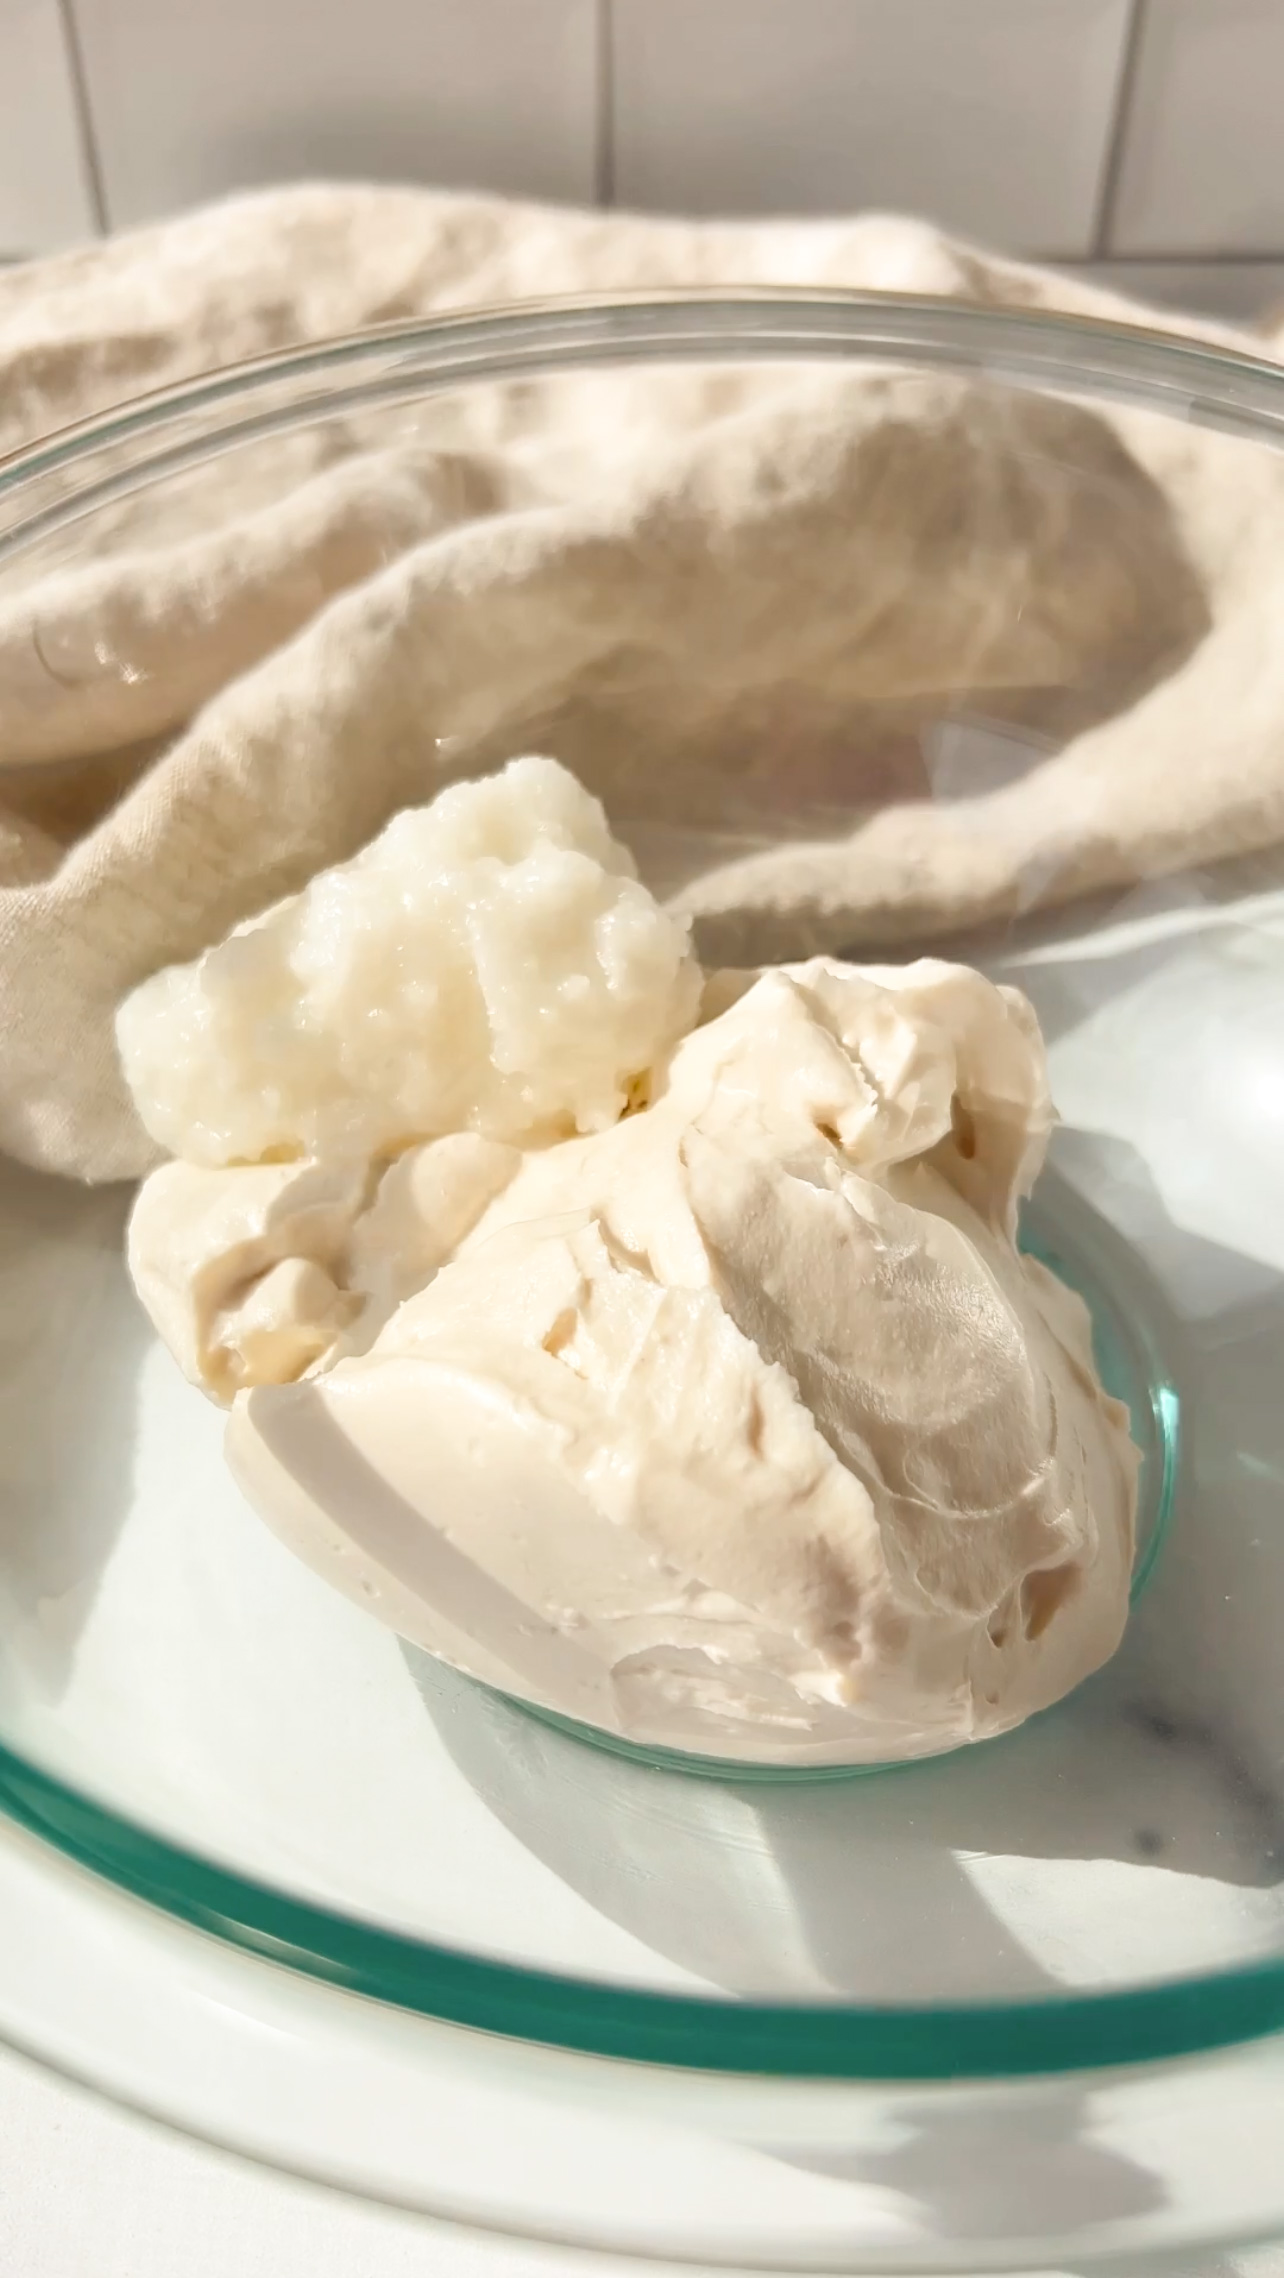
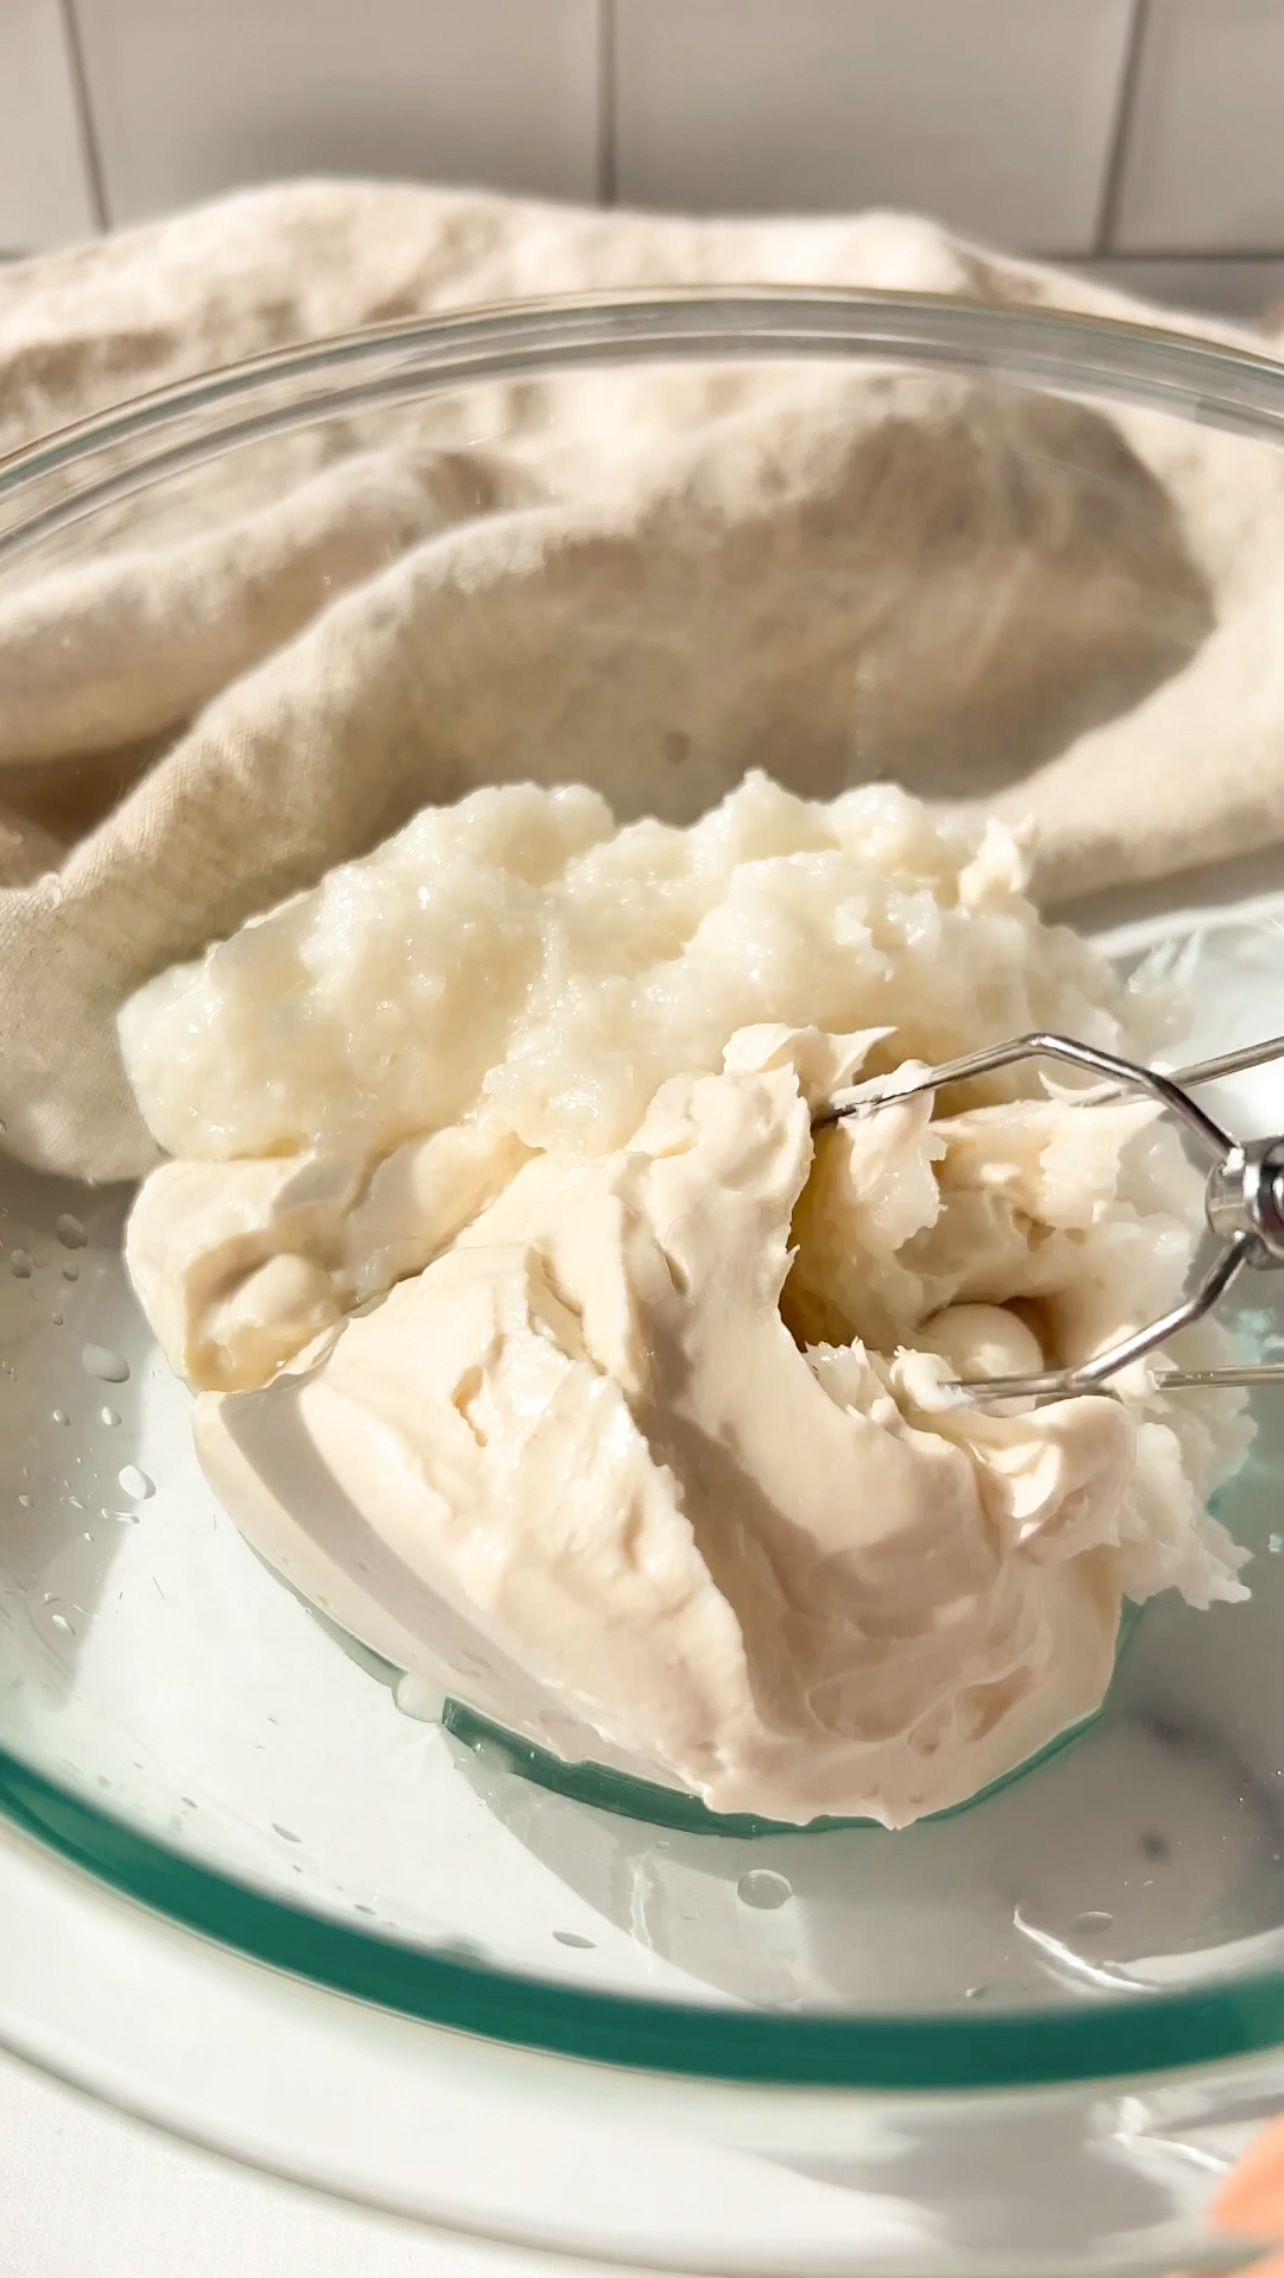
Now it's time to create the frosting. In a large bowl, add the cream cheese and coconut oil. Use room temperature vegan cream cheese and coconut oil.
Use a hand mixer to cream them together at high speed, until you get a smooth and creamy texture. Then also add the powdered sugar and vanilla. Refrigerate the frosting so it cools and hardens.
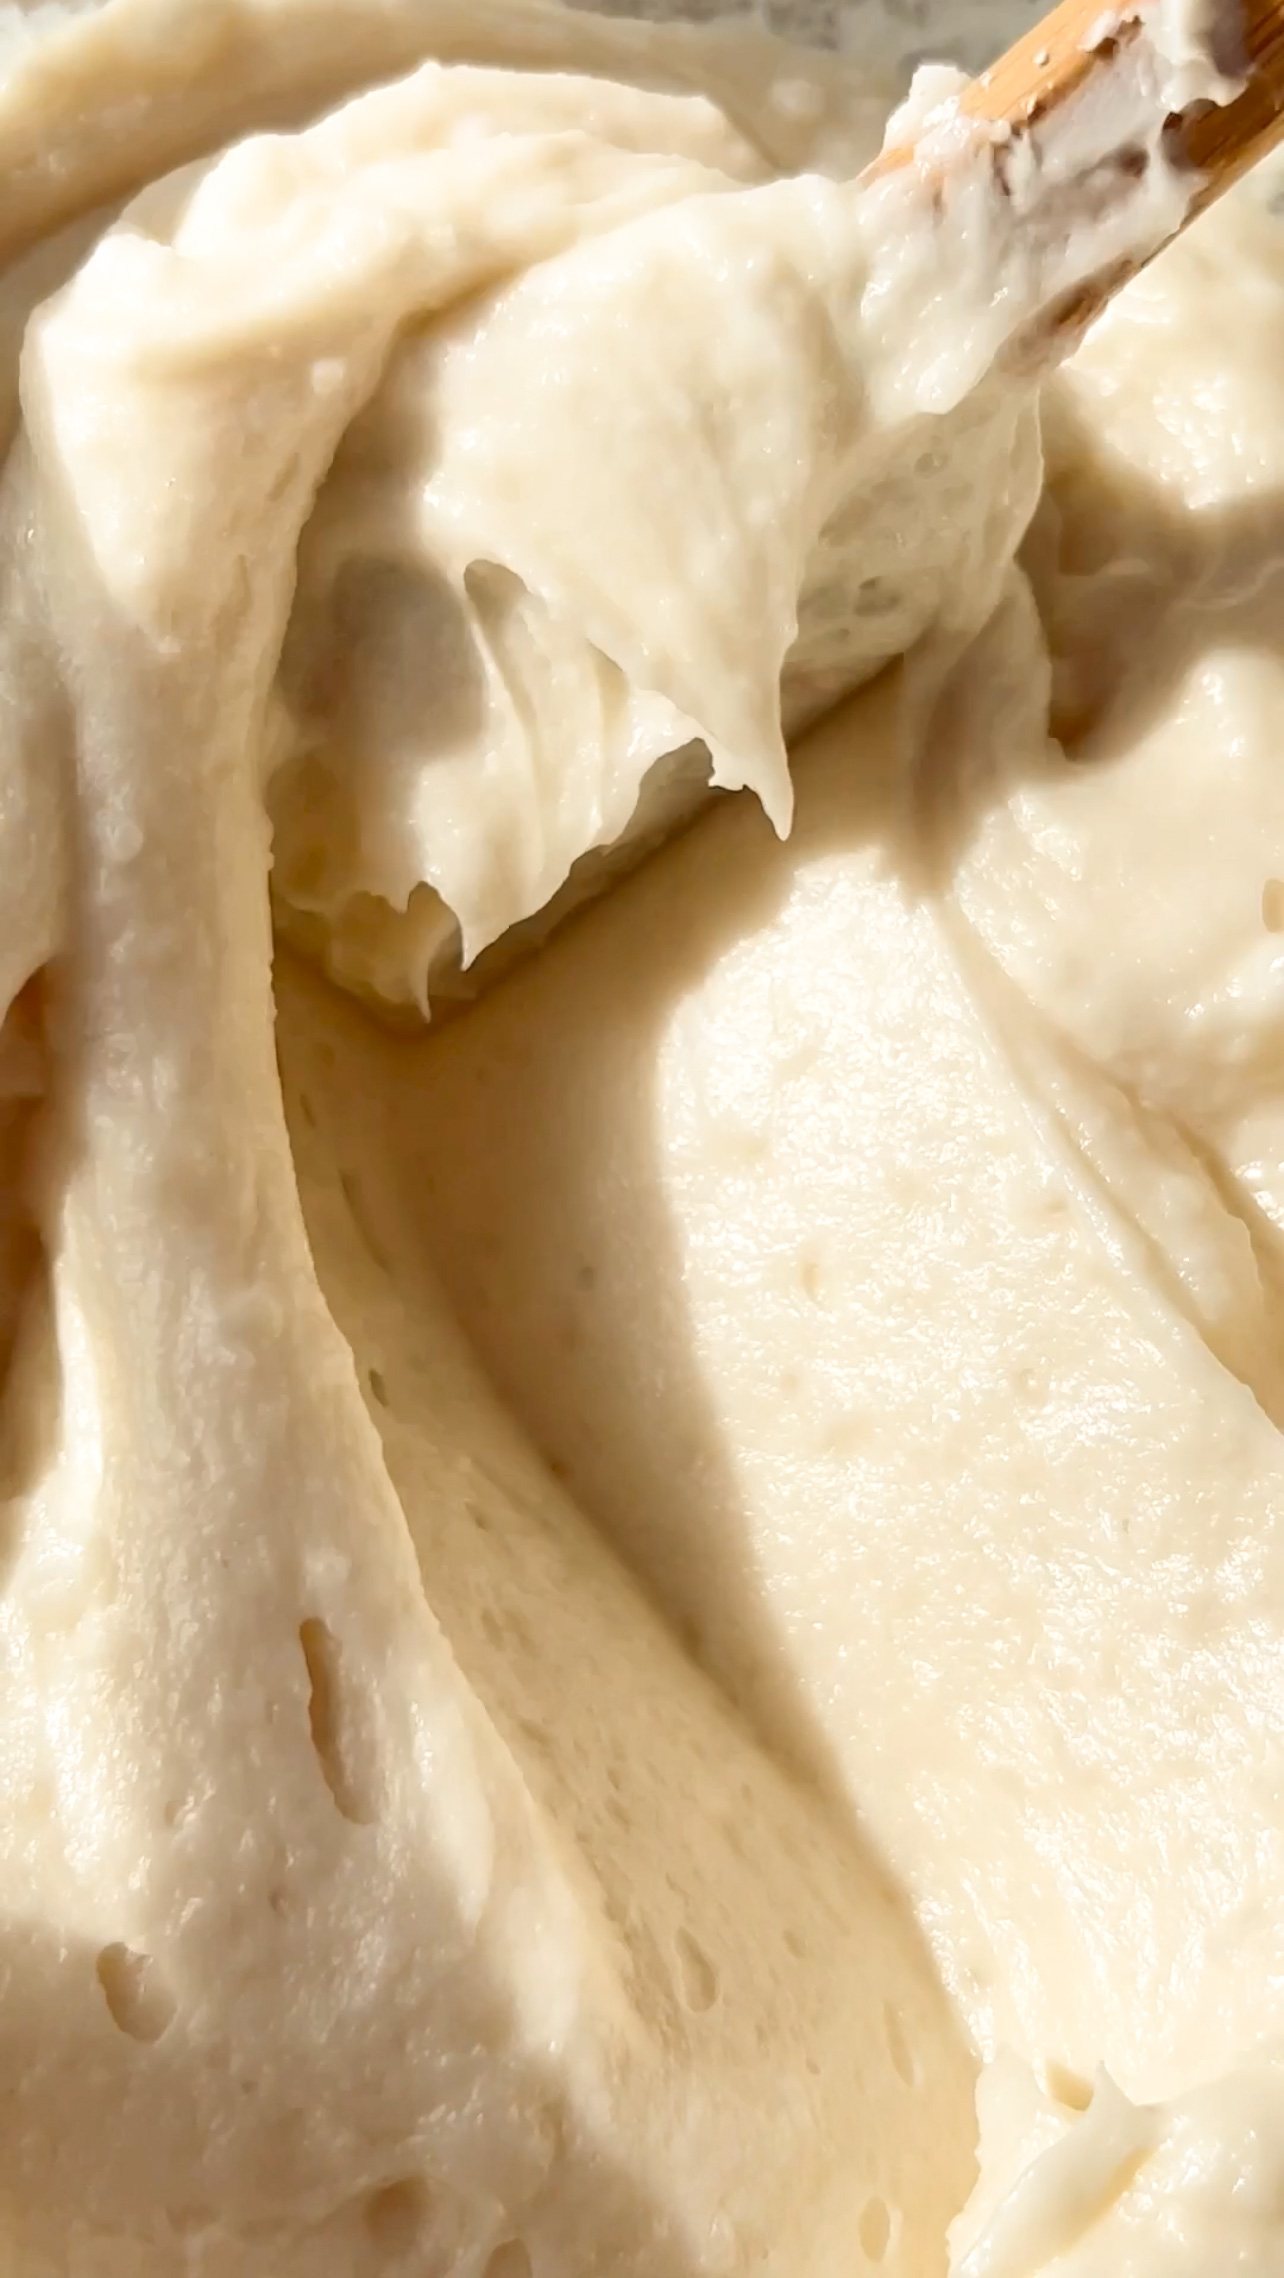
Now start stacking the cakes.
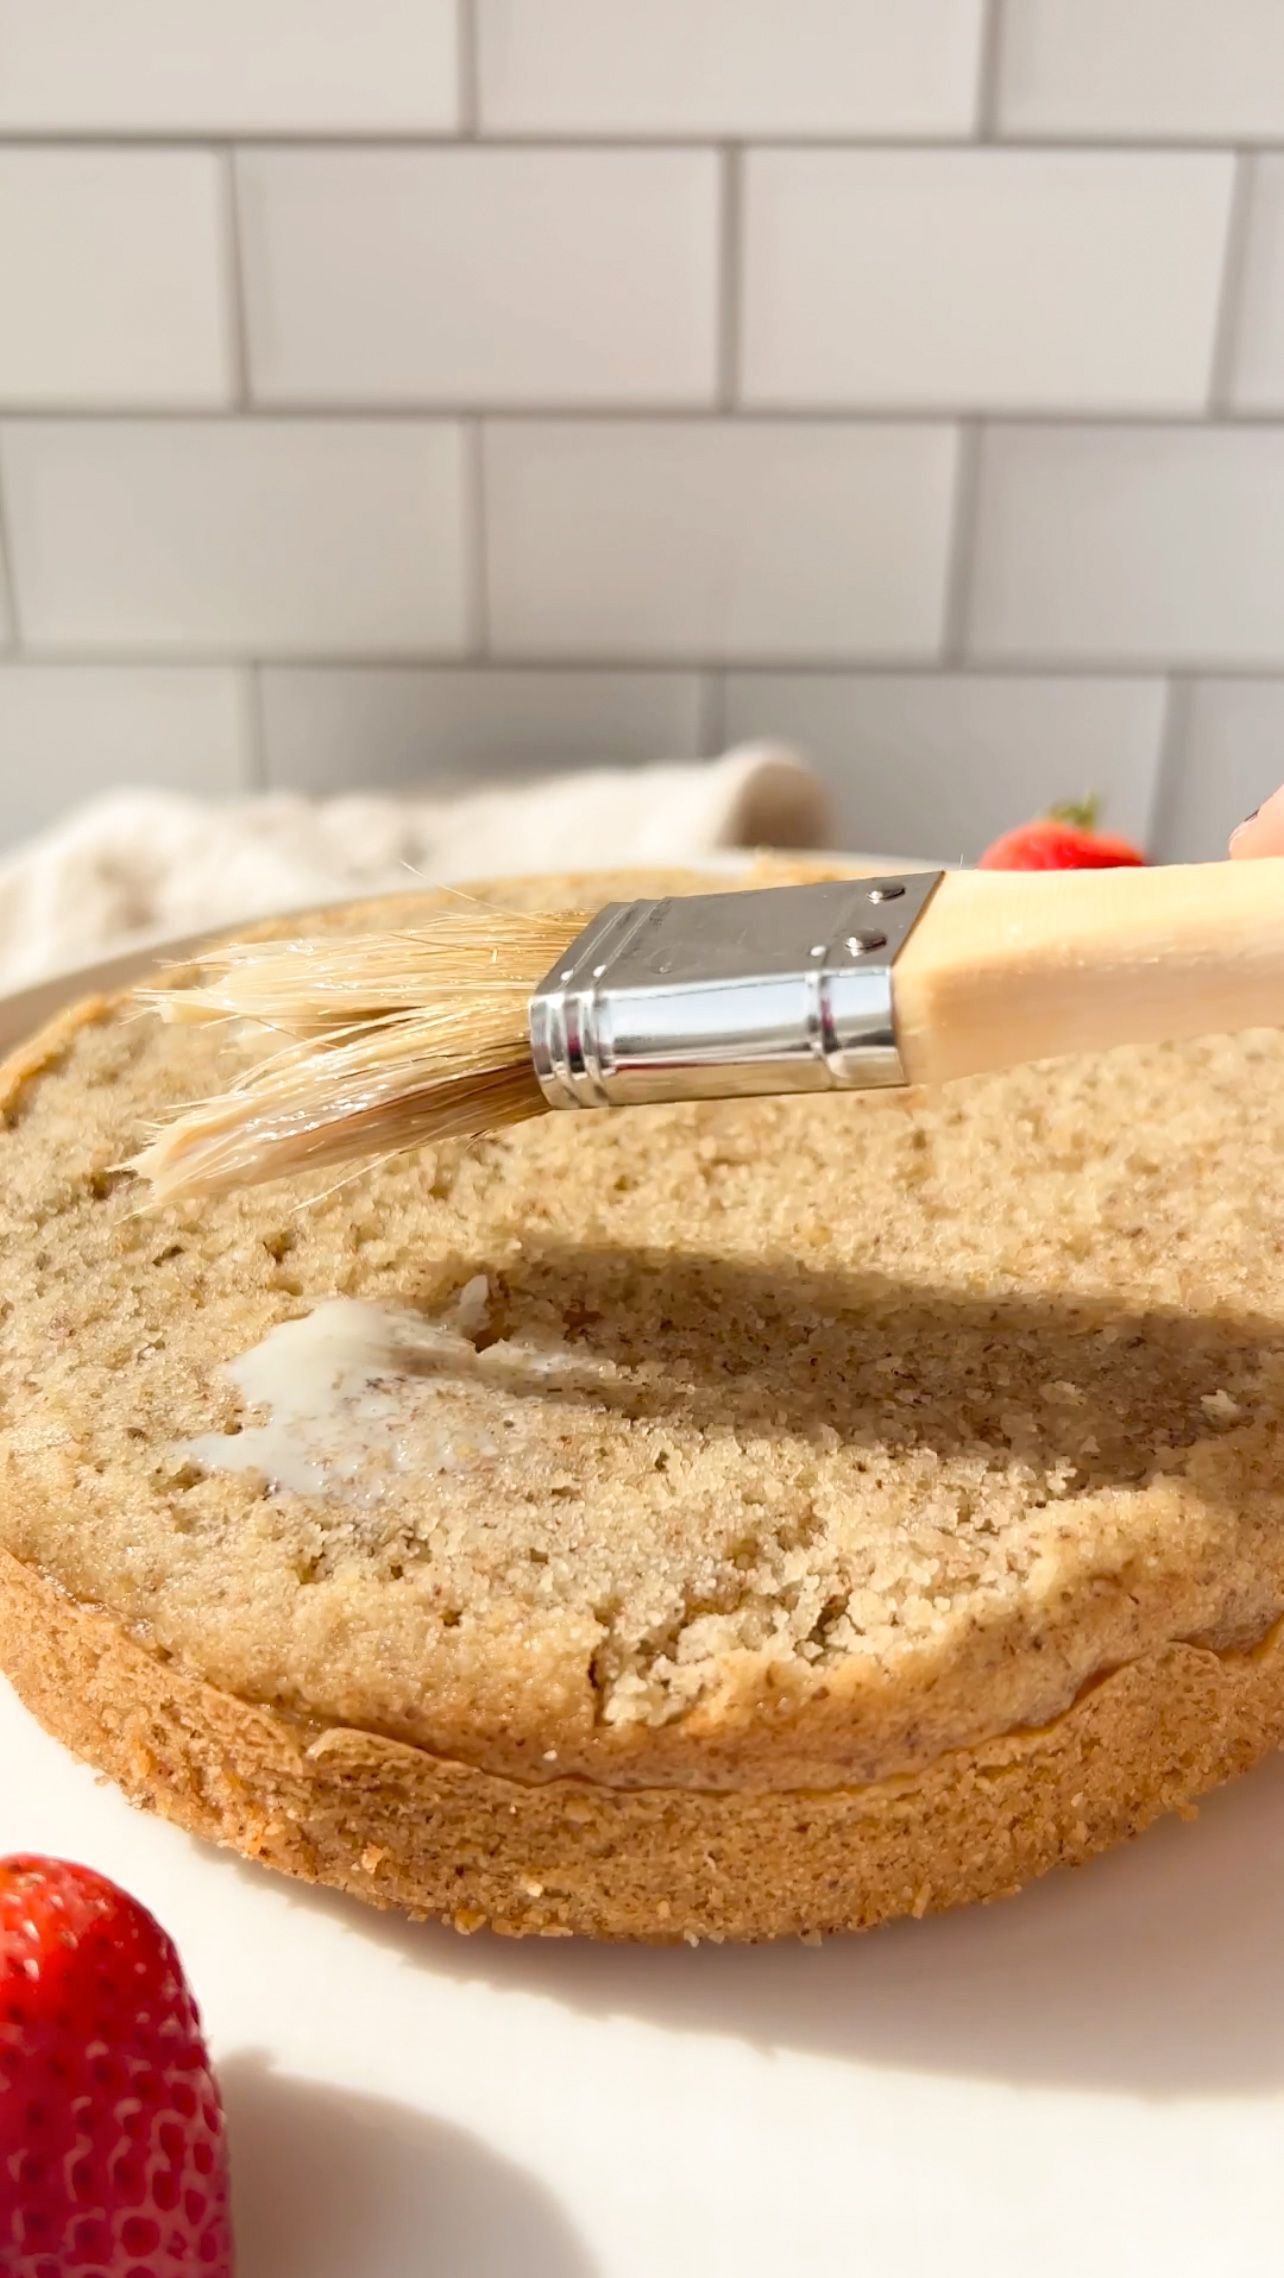
Optional: to make the cakes even more soft and moist, I created a cake soak. I combined ¼ cup of warmed dairy free milk and 1 tablespoon sugar together until the sugar dissolved. Then I used a pasty brush to lightly brush on some of the soak to the up-facing side of the bottom cake layer.
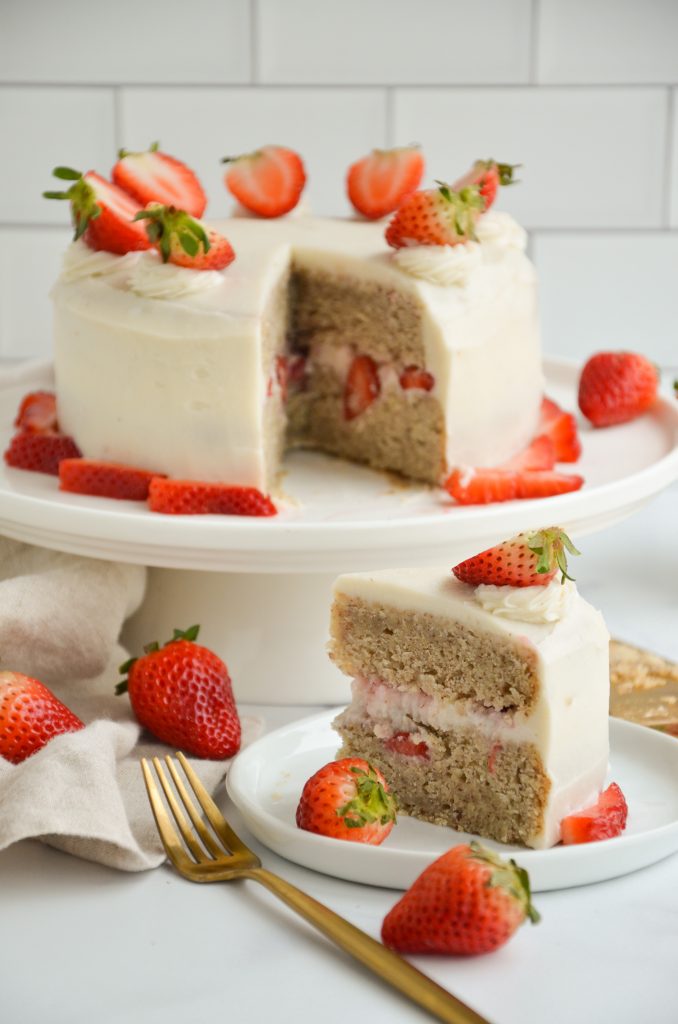
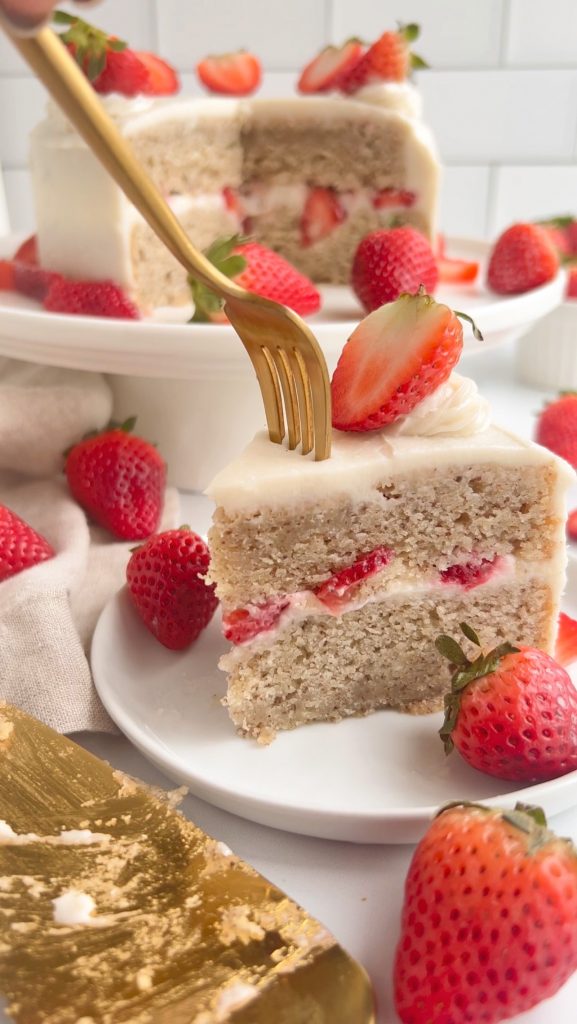
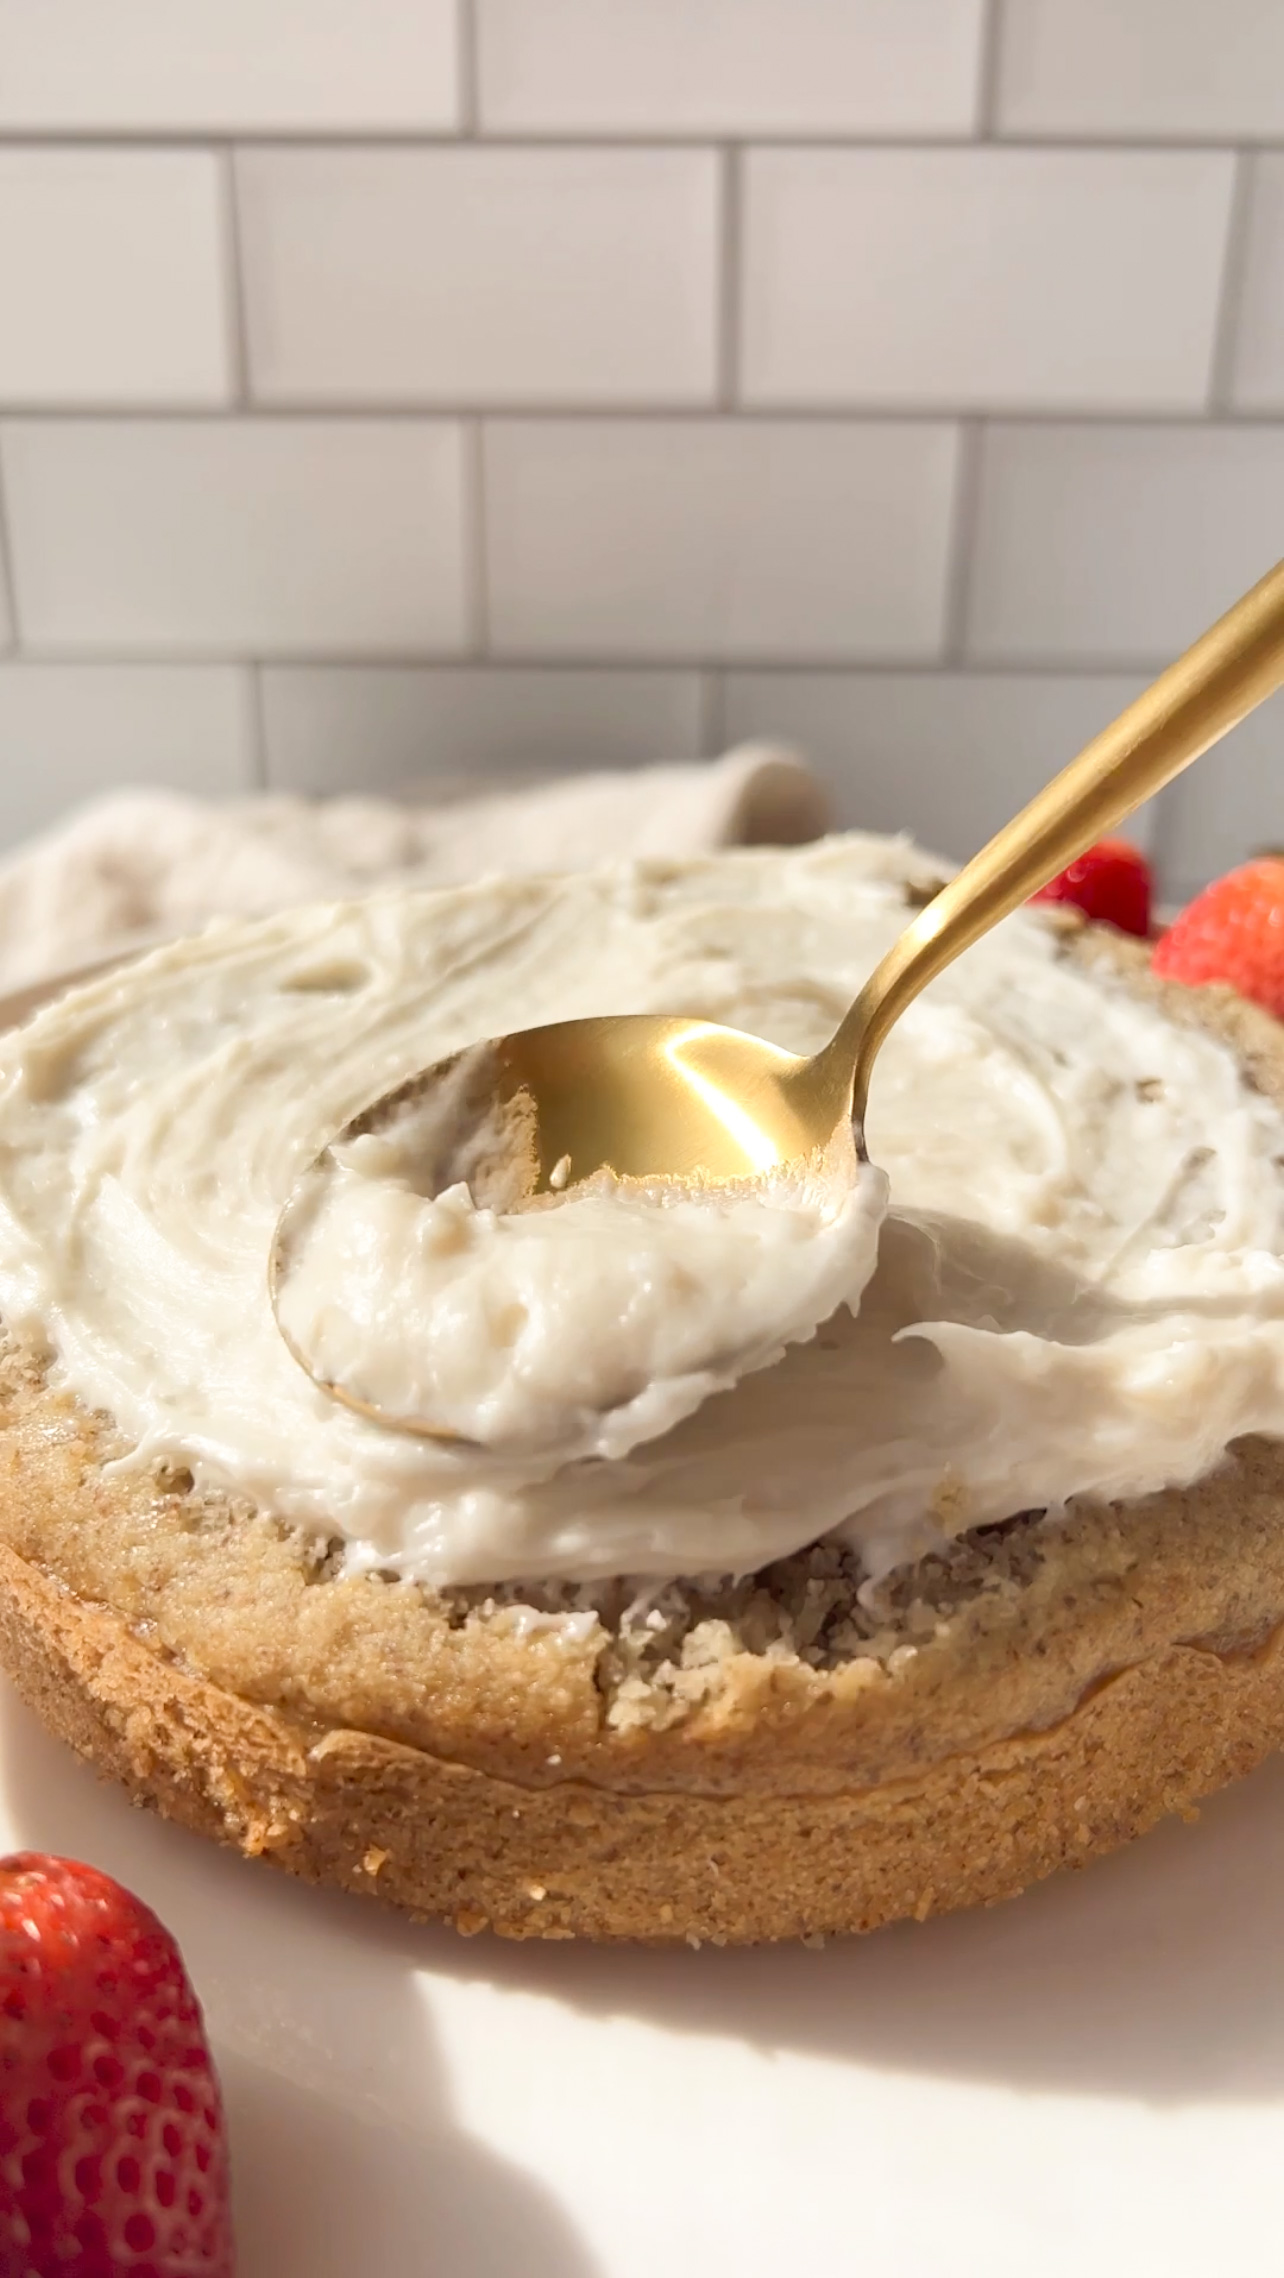
After you've added the optional cake soak to the first layer of cake, add a large dollop of frosting and spread it on top of the cake layer. I decided to also add strawberry slices here.
Add the second layer of cake on top. Now cover the top and sides of the cake with most of the frosting. Spread it evenly on the cake to create a thin layer all around the cake. This is your crumb coat. Refrigerate the cake at this point so that the crumb coat layer can harden.
After the cake has been in the fridge for about an hour, use the remainder of the frosting to frost the rest of the cake.
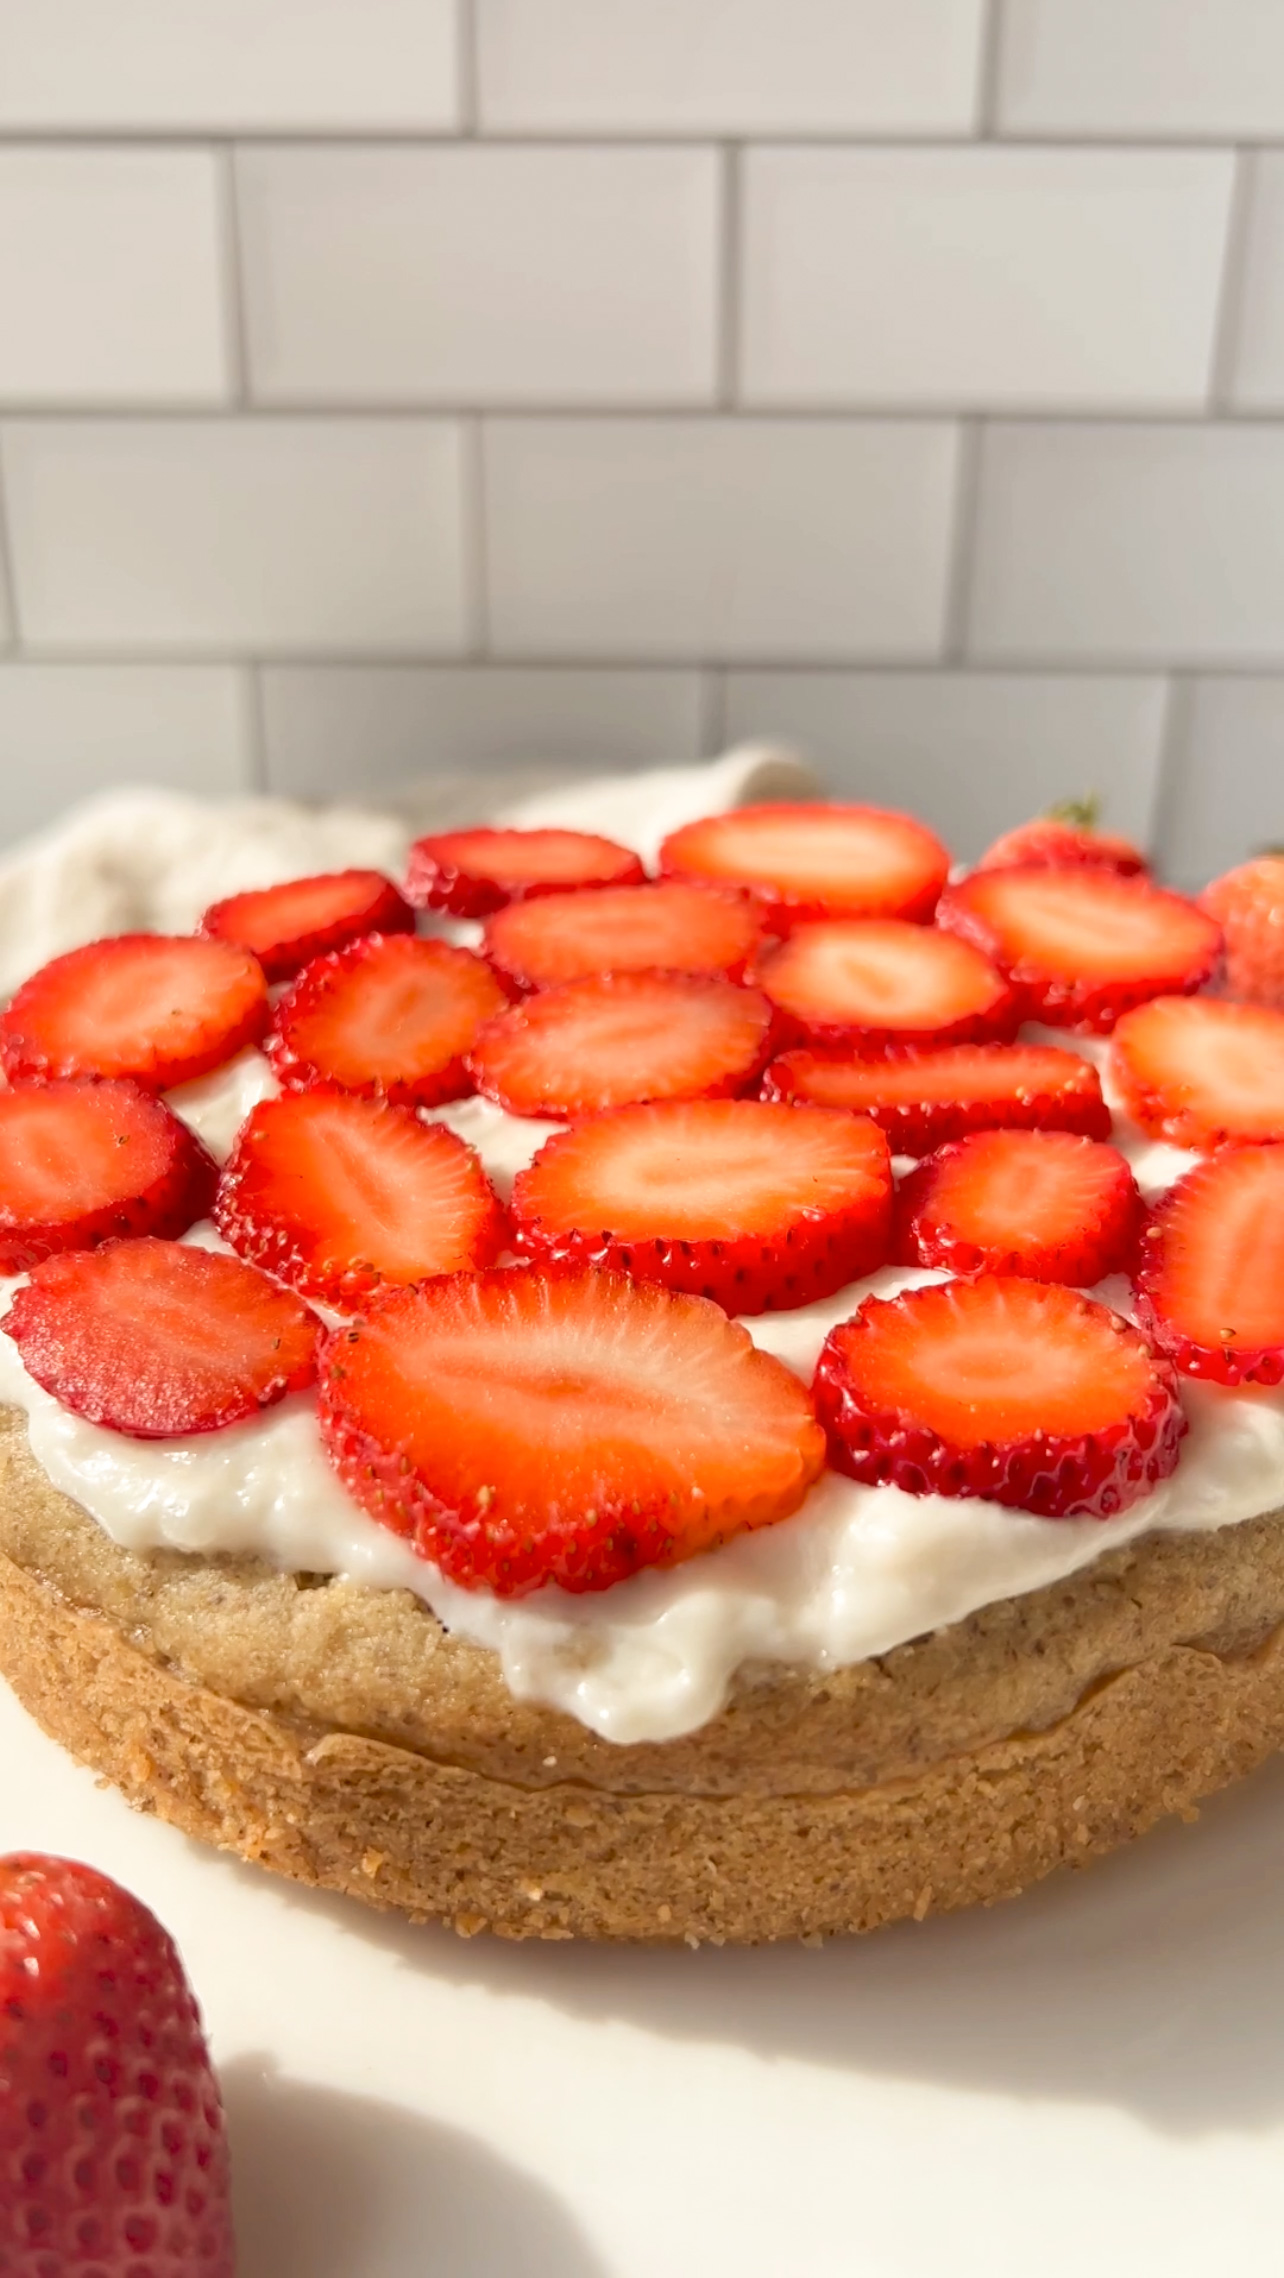
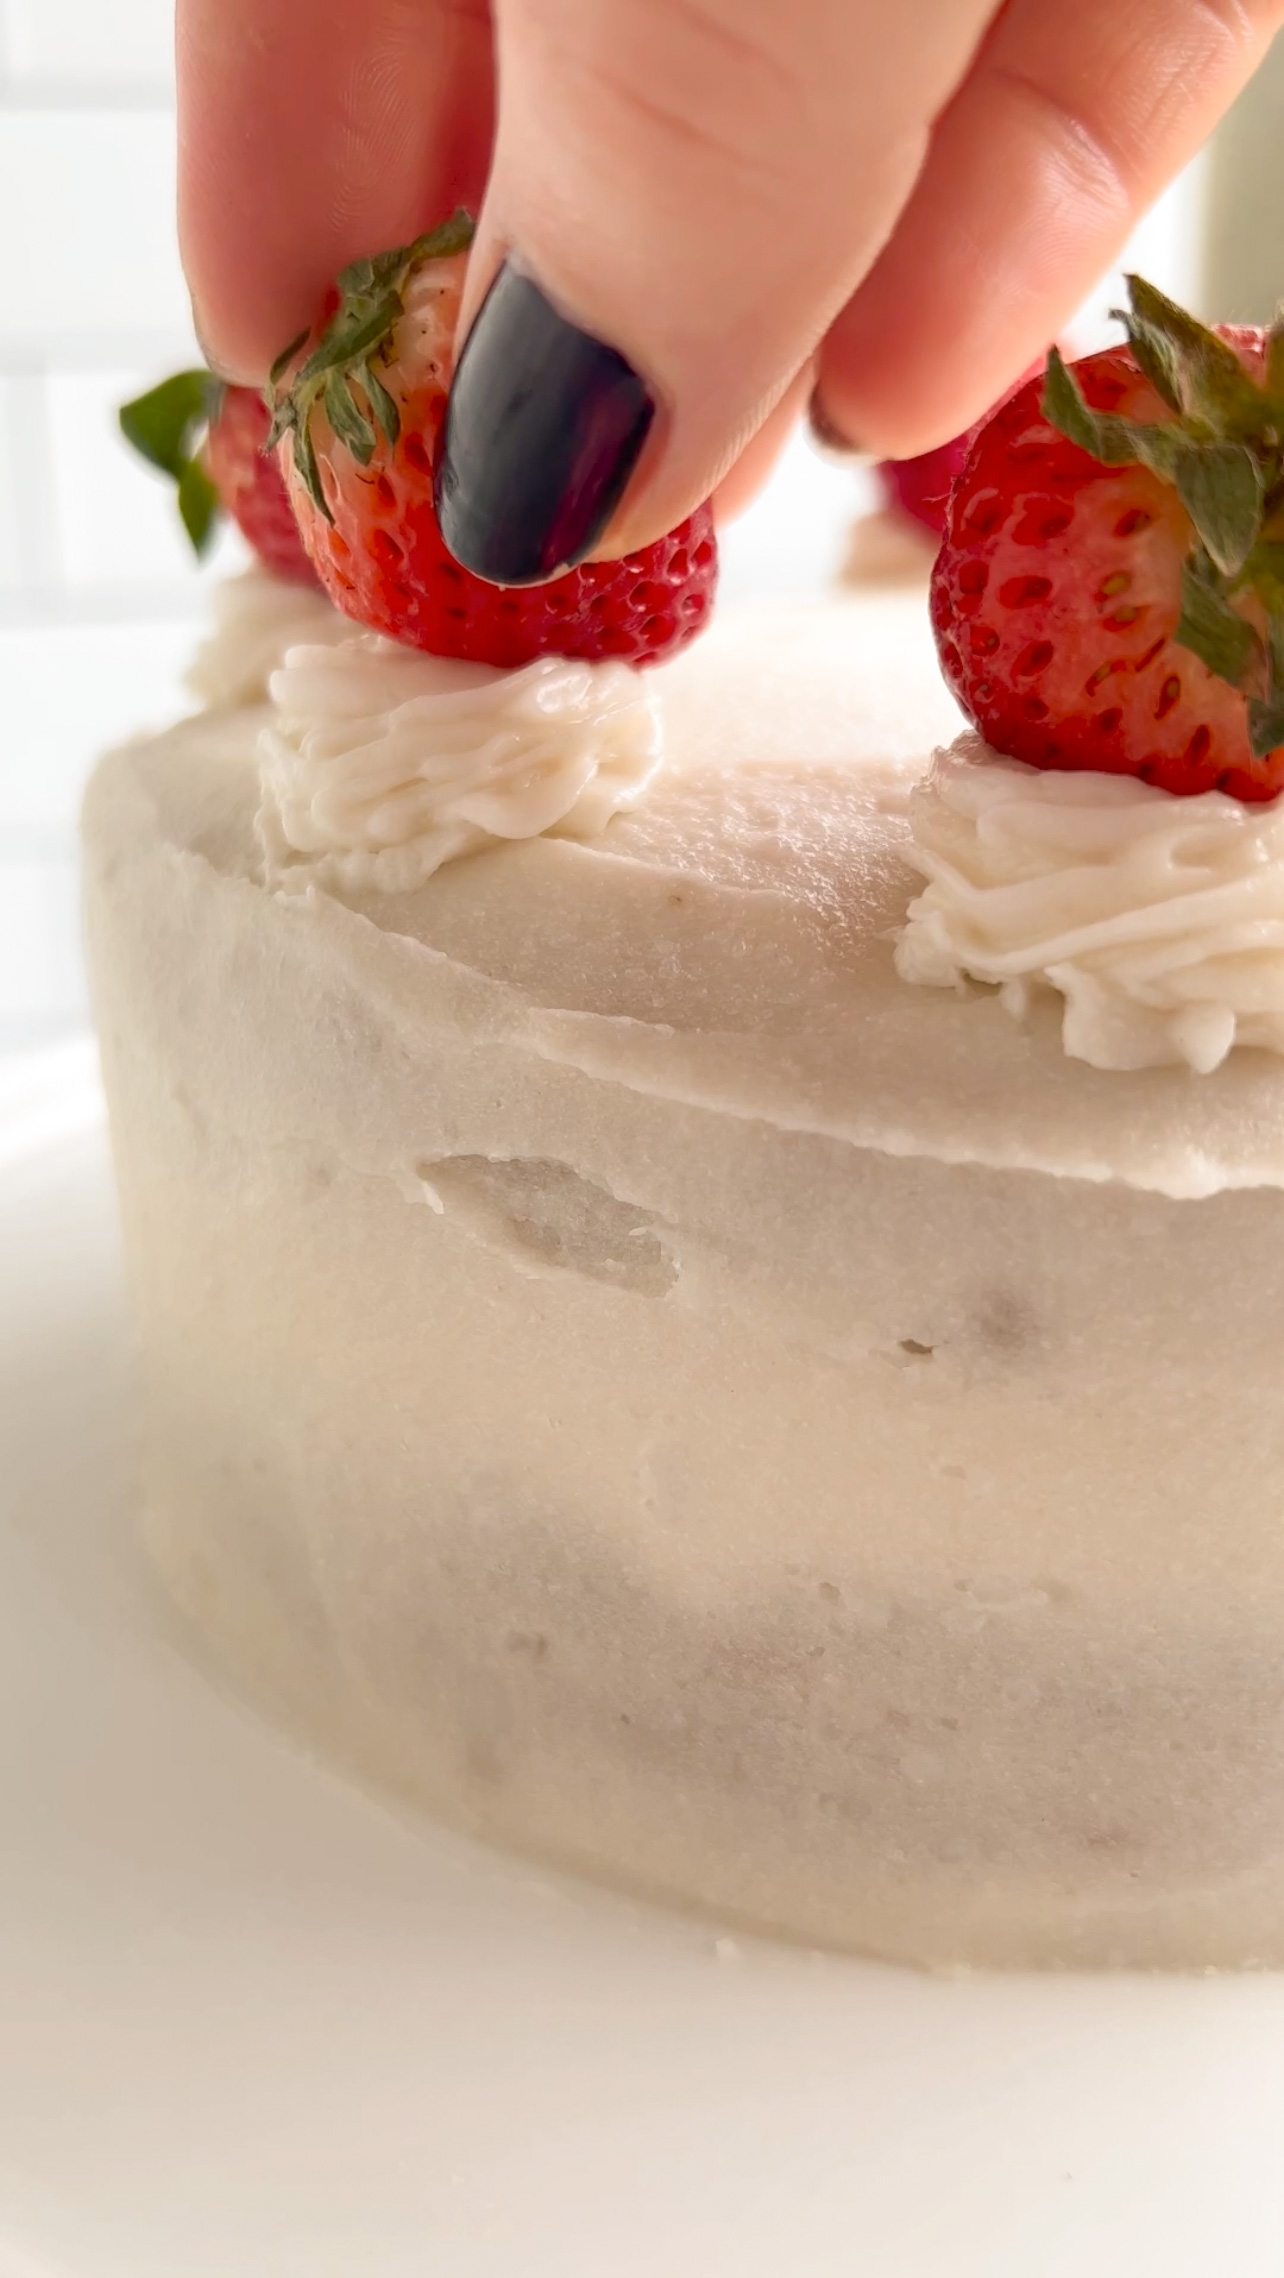
I saved about ¼ cup of frosting that I then added to a piping bag with a decorative tip and created little swirls on top of the cake for decoration. I added strawberries on top of each swirl. You can also decorate your cake with other fruit like lemons or oranges, or add flaked almonds instead.
Refrigerate the cake one more time for about another hour until the frosting hardens, then slice and enjoy!
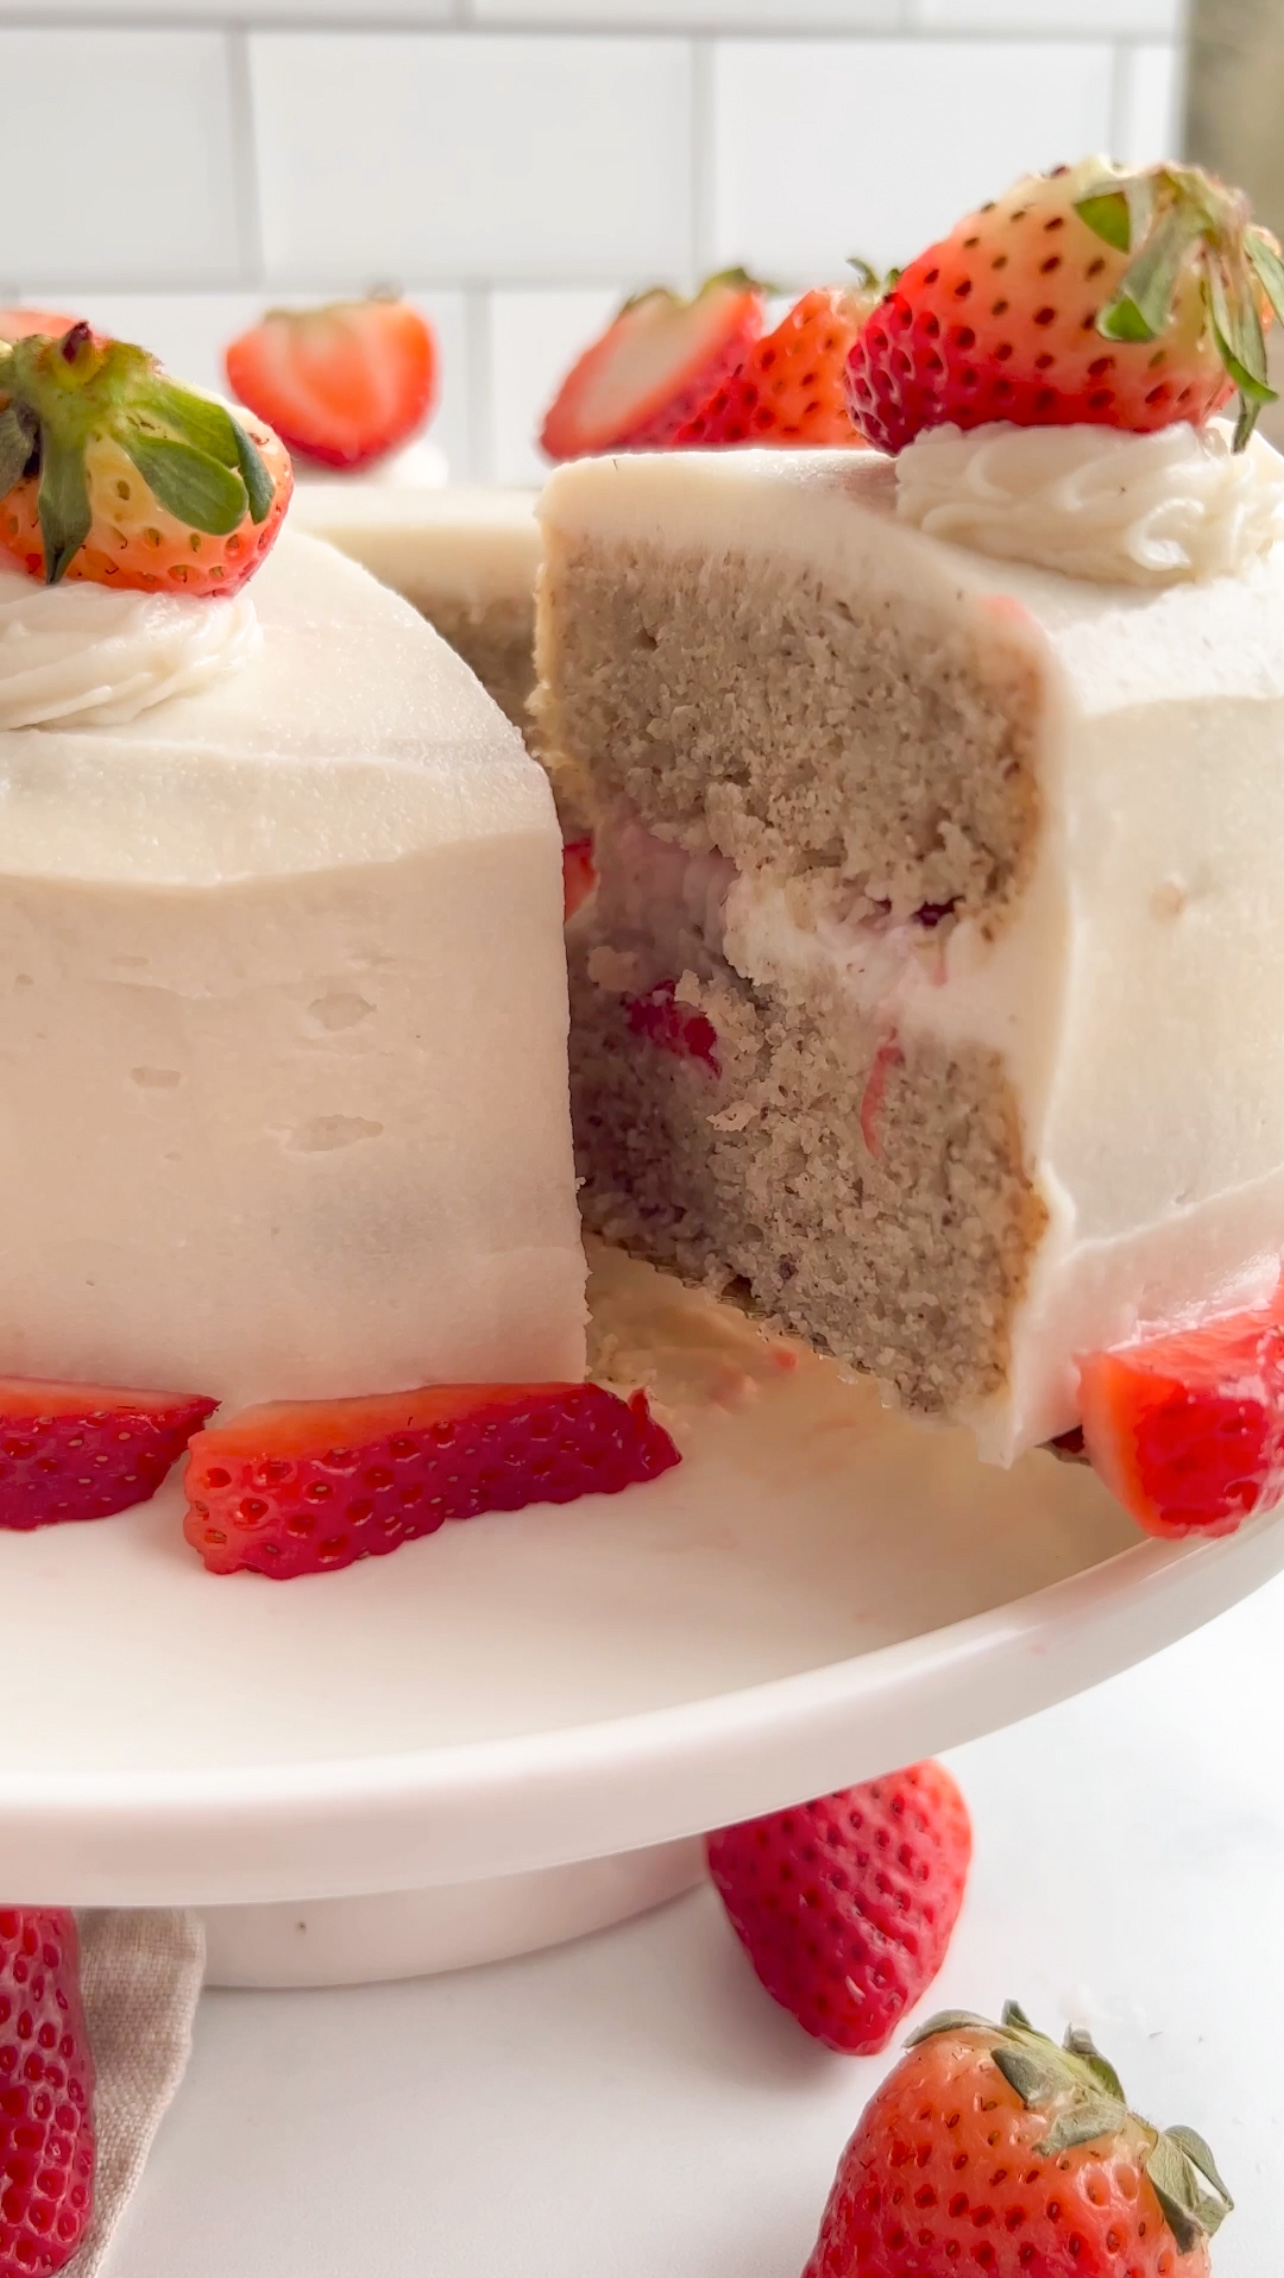
Enjoy your slice of cake with a cup of coffee or some afternoon tea 🙂
Video of the process of making this gluten free vegan vanilla cake recipe
If you enjoy vegan baking, you might also like these other vegan cake recipes
Almond Cake (Gluten Free, Vegan, Vanilla Cake Recipe)
Equipment
- 2 springform pans
- electric hand mixer or stand mixer
- 3 large bowls
Ingredients
Dry Ingredients
- 1 cup gluten free baking flour or all purpose flour 120 g
- 1 cup almond flour 112 g
- 2 tablespoon cornstarch
- 1 cup sugar 200 g
- ½ teaspoon baking soda
- dash of salt
Wet Ingredients
- 4 flax eggs 4 tablespoon ground flax seeds + 6 tablespoon water
- 1 cup dairy free milk + 1 tablespoon apple cider vinegar "buttermilk"
- 2 tablespoon vanilla
- ½ cup coconut oil
Frosting Ingredients
- 1 cup vegan cream cheese
- ½ cup coconut oil or vegan butter
- ⅔ cup powdered sugar
- 2 teaspoon vanilla
Instructions
- First prepare the flax egg and vegan butter milk by combining the ingredients aside and letting them set for about five minutes.
- In a large bowl, combine all of the dry ingredients and mix them well. Then, in a separate bowl, combine all of the wet ingredients and mix those well.
- Add the wet ingredients to the dry and mix together.
- Grease two small cake pans (I used 6" springform pans) and cover the bottom with parchment paper. Pour the batter evenly into the two pans and flatten out the tops of the cakes.
- Bake the cakes at 350*F/ 175*C for 40-45 minutes. Bake until the top is golden in color and when you can stick a toothpick through the center and it comes out clean. I baked mine for 40 exactly.
- Now it's time to create the frosting. Use room temperature vegan cream cheese and coconut oil. Use a hand mixer to cream them together. Then also add the powdered sugar and vanilla. Refrigerate the frosting so it hardens.
- Once the cakes have baked, take them out and give them plenty of time to cool. Then gently remove them from the cake molds.
- I used a cake leveler to level out the little dome that forms at the top of each cake. I do this so that the cakes can have a flat top and are more easily stackable. If you don't have a cake level, you can use a serrated knife to flatten out the tops.
- Now start stacking the cakes. Optional: to make the cakes even more soft and moist, I created a cake soak. I combined ¼ cup of warmed dairy free milk and 1 tablespoon sugar together until the sugar dissolved. Then I used a pasty brush to lightly brush on some of the soak to the up-facing side of the bottom cake layer.
- After you've added the optional cake soak to the first layer of cake, add a large dollop of frosting and spread it on top of the cake layer. I decided to also add strawberry slices here.
- Add the second layer of cake on top. Now cover the top and sides of the cake with most of the frosting. Spread it evenly on the cake to create a thin layer all around the cake. This is your crumb coat. Refrigerate the cake at this point so that the crumb coat layer can harden.
- After the cake has been in the fridge for about an hour, use the remainder of the frosting to frost the rest of the cake.
- I saved about ¼ cup of frosting that I then added to a piping bag with a decorative tip and created little swirls on top of the cake for decoration. I added strawberries on top of each swirl.
- Refrigerate the cake one more time for about another hour until the frosting hardens, then slice and enjoy!
Video
Nutrition
How to store the cake
You can store the cake in the fridge in an airtight container for 4-5 days. This cake definitely needs to be in the fridge at all times when not being consumed and can't be left out at room temperature for too long, or the frosting might soften too much and start to melt off.
When putting it in an airtight container, you will need one that's pretty tall, so that the cake isn't squished. I find glass cake stands like this super helpful for storing cakes, if you happen to have one on hand.
If you don't have an airtight container large enough or a cake stand, you can place the cake on a plate and gently cover with plastic wrap, being careful not to ruin the frosting. However, if it has been stored in the fridge, the frosting on the cake should be hard enough to not be ruined if touched by plastic wrap.
Can I use coconut flour?
This gluten free vegan vanilla cake recipe does not work with coconut flour instead of almond flour.

Leave a Reply